
When working with PDF generation in .NET, there are several frameworks and approaches you can take.
Some PDF frameworks are based on vector graphics, which works similar to SVGs, where you can draw various shapes on your "canvas" — in this case being the PDF.
Other frameworks use XSL Formatting Objects (abbreviated XSL-FO or just FO), which is what this article will be about. XSL Formatting Objects is an XML based markup language. The approach here is quite similar to HTML, where you set up elements that represent your PDF document. You can also style elements using syntax similar to CSS.
In addition to describing XSL Formatting Objects, this article will also show you how to use my Skybrud.Pdf package for generating the proper XML to generate PDFs.
Do I need a generator for that?
Yes. XSL-FO itself is just the language for describing your document/PDF. You will need a framework/package for converting your XSL-FO document into a corresponding PDF file.
I'm using a framework called Ibex PDF creator. Ibex is really the profesional framework to generating PDFs based on XSL-FO - and is therefore also has a rather high price, as a single developer license costs 2500 USD. Ouch. But it might still be worth the price.
There is also open source alternative called Fo.Net - which unfortunately doesn't seem to be that active. The most active fork I've been able to find, seems to be the one by Lee Kelleher.
Both frameworks support inputting your XSL-FO document, but the code for doing so looks quite different.
Render using IBEX
When using my Skybrud.Pdf package, we have an instance of FoDocument - here referenced via the document variable.
For Ibex PDF creator, we can use the FODocument class to generate a new PDF document. Here we specify an input stream (as received from the GetStream method), and an output stream (in this case the output stream of your ASP.NET page).
// Clear the response
Response.Clear();

// Set the content type and filename
Response.ContentType = "application/pdf";
Response.AddHeader("Content-Disposition", "filename=\"MyPdf.pdf\"");

// Generate and output the PDF document
using (Stream stream = document.GetStream()) {
    new FODocument().generate(stream, Response.OutputStream);
}

// End the response
Response.End();
Notice the difference in casing, as the FODocument class comes Ibex, while FoDocument comes from my Skybrud.Pdf package.
Render using FO.net
The FO.net implementation revolves around the FonetDriver class. It has a number of overloads for the Render method, where the one most suitable for our use case seems to be the one taking an XmlDocument as the first parameter. Similar to the example with Ibex, the second parameter is the ouput stream of the response.
So in this example, we initially convert (or serialize if you will) the FoDocument instance to a corresponding instance of XmlDocument with all the XML making up our XSL-FO document, and then have the driver convert it to an actual PDF.
// Convert the "FoDocument" to "XmlDocument"
XmlDocument xml = document.ToXmlDocument();

// Initialize a new FO.net driver
FonetDriver driver = FonetDriver.Make();

// Clear the response
Response.Clear();

// Set the content type and filename
Response.ContentType = "application/pdf";
Response.AddHeader("Content-Disposition", "filename=\"MyPdf.pdf\"");

// Write the PDF document to output stream
driver.Render(xml, Response.OutputStream);

// End the response
Response.End();
So far, I've only used FO.net for testing purposes, but I've encountered a few issues along the way.
For instance it doesn't support XML CDATA, which is obviously a bummer if you have some XML containing this. In the example above, my package will make sure not to include CDATA in the generated XML. But this may on the other hand create problems if you actually have text that requires to be wrapped in CDATA to be valid XML.
Using Skybrud.Pdf to generate XSL-FO documents
As already described a bit, my package contains the FoDocument class - as well as a number of others classes representing the invididual elements making up an XSL-FO document.
The various classes contain relevant properties to set up the document, so you don't have to generate the XML manually.
Initialize a new FoDocument instance
In XSL-FO the fo:root element - as suggested by the name - represents the root element of the document. In Skybrud.Pdf this element is represented by the FoDocument class. We can initialize it as:
// Initialize the root element
FoDocument document = new FoDocument();
Specific for IBEX, we can also set a number of properties for the document - eg. the title author and subject:
// Don't set the properties when using FO.net, as things will break
document.Properties = new IbexProperties {
    Author = "Skrift",
    Title = "Test PDF document",
    Subject = "Test PDF document"
};
The title, for instance, is shown in the window title of most PDF readers. With the code above, and because we haven't really added any content to the document yet, the generated XML will look like this:
<fo:root xmlns:fo="http://www.w3.org/1999/XSL/Format" xmlns:ibex="http://www.xmlpdf.com/2003/ibex/Format">
  <ibex:properties title="Test PDF document" author="Skrift" subject="Test PDF document" />
  <fo:layout-master-set />
</fo:root>
Configuring your master pages
A document according to Formatting Objects will consist of one or more master pages, which serves as a template for the pages you add to your document. A master page defines the margins of pages using it, as well as defines header and footer sections.
To initialize a new master page based on an A4 paper, your code could look like:
// Initialize the "Master" master page
FoSimpleMasterPage master = new FoSimpleMasterPage("Master", "210mm", "297mm") {
    MarginTop = "1cm",
    MarginBottom = "0.5cm",
    MarginRight = "1.8cm",
    MarginLeft = "1.8cm"
};
You can of course change the margins (or the paper format) to your needs.
Further more your page must have a "body" section (or region as they are called in Formatting Objects). Therefore we should make sure to add a fo:region-body element to the master page:
master.AddRegion(new FoRegionBody {
    MarginTop = "1cm",
    MarginBottom = "0cm"
});
While optional, you can also add header and footer sections/regions to your master pages - in XSL-FO, the elements for this are called fo:region-before and fo:region-after respectively:
master.AddRegion(new FoRegionBefore {
    Name = "header",
    Extent = "0cm",
    MarginBottom = "35px"
});

master.AddRegion(new FoRegionAfter {
    Name = "footer",
    Extent = "35px",
});
Finally, with the master page set up, we should add it to the document's overall collection of master pages:
document.LayoutMasterSet.AddMasterPage(master);With the code above, the XML for this master page would look like:
<fo:simple-page-master master-name="Master" page-width="210mm" page-height="297mm" margin-top="1cm" margin-right="1.8cm" margin-bottom="0.5cm" margin-left="1.8cm">
  <fo:region-body margin-top="1cm" margin-bottom="0cm" />
  <fo:region-before region-name="header" extent="0cm" margin-bottom="35px" />
  <fo:region-after region-name="footer" extent="35px" />
</fo:simple-page-master>
Adding pages to your document
Since we now have the master pages in place, we can start adding pages to our document. Pages are represented by the fo:page-sequence element, and where the master-reference attribute contains the name of the master page.
Each page sequence then consists of a fo:flow element - this is the element to which you add the actual content. A page sequence is not the same as a single page in the PDF, as a page sequence can span multiple pages if there is enough content.
If we were to create a new page sequence using the Master master page we created earlier, the code would look something like:
// Initialize a new flow based on the body region
FoFlow flow = new FoFlow("xsl-region-body");

// Initialize a new page sequence based on the flow
FoPageSequence page = new FoPageSequence("Master", flow);

// Append the page sequence to the document
document.PageSequences.Add(page);
As we haven't added any content to the flow yet, the corresponding XML will look like:
<fo:page-sequence master-reference="Master">
  <fo:flow flow-name="xsl-region-body" />
</fo:page-sequence>
Adding content to a page sequence
A good scenario for this article would be to generate a PDF document with all the products of the default starter kit in Umbraco, including some basic information about each product as well as an image of each product.
When using ModelsBuilder, we can iterate over each product like this:
// Get a reference to "Products" node
var products = Umbraco.Content(1105);

// Iterate over each product using the "Product" class generated by ModelsBuilder
foreach (Product product in products.Children.OfType<Product>()) {

    // Handle each product here

}
For generating some content for the products, we can use a fo:block element as the outer container for each product. A fo:block element can be compared to <div> in HTML as both are block level elements and allow both block and inline elements as children.
We can also apply some styling to fo:block elements - for instance set the font family to Arial and add a little margin at the bottom so there is a bit of distance between each product.
// Create a new container for the contents related to a product
FoBlock container = new FoBlock {
    FontFamily = "Arial",
    MarginBottom = "15px"
};

// Append the container to the flow of the page sequence
flow.Add(container);
As we haven't added any content to the container yet, the XML for the container would look as simple as:
<fo:block font-family="Arial" margin-bottom="15px" />For each product, we should start out with listing it's name. XSL-FO doesn't have header elements like <h1>, <h2> and so on known from HTML, so we use the generic fo:block element and apply a bit of styling to it:
// Append a block with the name to the container
container.Add(new FoBlock(product.Name) {
    FontSize = "20px",
    FontWeight = FoFontWeight.Bold
});
Next up, we want to add the price as well as the description of the product:
// Append a block with the price to the container
FoBlock price = new FoBlock { MarginTop = "5px" };
container.Add(price);

// Append a "Price:" label along with the actual price to the price block
price.Add(new FoInline("Price:") { FontWeight = FoFontWeight.Bold });
price.Add(product.Price.ToString("N0"));

// Append a block with the description to the container
FoBlock description = new FoBlock(product.Description) { MarginTop = "5px" };
container.Add(description);
The fo:block elements for the price and description both have a little top margin, which gives some distance between the blocks to make the PDF more readable.
For the price, let's assume we want to show a "Price:" label just before the actual price. To style each piece of text individually, we can use the fo:inline element (a bit similar to <span> in HTML).
As a result, the XML for the outer fo:block of a product would now look like:
<fo:block font-family="Arial" margin-bottom="15px">
  <fo:block font-size="20px" font-weight="bold">Tattoo</block>
  <fo:block margin-top="5px">
    <fo:inline font-weight="bold">Price:</fo:inline>
    <fo:inline>499</fo:inline>
  </fo:block>
  <fo:block margin-top="5px">Cras ultricies ligula sed magna dictum porta.</fo:block>
</fo:block>
Listing the features of each product
In the starter kit, there is actually just a single product that has any features added to it. But these are relevant to show as well. For this scenario, we can use another XSL-FO element called fo:list-block for building a bulleted list showing the features.
Again thanks to ModelsBuilder, we can iterate over each feature of a product, and add additional fo:block elements for both the feature name and description:
// Not all products have features
if (product.Features.Any()) {

    // Create a new list block
    FoListBlock list = new FoListBlock();
    container.Add(list);

    // Iterate through the features
    foreach (Feature feature in product.Features) {

        // Create both the label and body elements for the item
        FoListItemLabel label = new FoListItemLabel();
        FoListItemBody body = new FoListItemBody();

        // Use a simple hyphen as the label
        label.Add(new FoBlock("-"));

        // We can't put the margin on an "FoListItemBody", so do it on a block instead
        FoBlock bodyBlock = new FoBlock { MarginLeft = "15px"};
        body.Add(bodyBlock);

        // Append the feature name (in bold) to the list item body
        bodyBlock.Add(new FoBlock(feature.FeatureName) {
            FontWeight = FoFontWeight.Bold
        });

        // Append the details as well
        bodyBlock.Add(new FoBlock(feature.FeatureDetails));

        // Now add a new list item to the list
        list.Add(new FoListItem {
            MarginTop = "15px",
            MarginLeft = "15px",
            FontSize = "14px",
            Label = label,
            Body = body
        });

    }

}
Lists in XSL-FO are not a simple as lists in HTML, as you for each item must define the label and the body using individual elements. But on the other hand, this may also give you some extra flexibility.
In the example above, I've initialized a new fo:list-item-label element as well as a new fo:list-item-body element. The label is the part to the left containing the bullet - or in this case just a hyphen. The body is the actual content of the list item.
Notice that in XSL-FO you must make sure to give the contents of the body a left margin - otherwise the contents will just overlap the label. fo:list-item-body doesn't support a margin of it's own, but if we wrap the contents in a new fo:block, we can add the margin to that.
Adding the product photo
Each product in the starter kit also has a photo, which we of course also want to show in the PDF. For this we can use the fo:external-graphic element.
The XSL-FO specification allows setting a margin on a fo:external-graphic element, but probably because it's an inline element, at least the top margin doesn't seem to have any effect. Therefore we can wrap the fo:external-graphic in a new fo:block element as shown below:
if (product.Photos != null) {

    // Get an URL for a cropped version of the photo
    string cropUrl = baseUrl + product.Photos.GetCropUrl(150, 100);

    // Initialize a new external graphic element
    FoExternalGraphic gfx = new FoExternalGraphic(cropUrl);
    container.Add(new FoBlock(gfx) { MarginTop = "5px" });

}
As we're using Umbraco to crop the photo, we should specify the full URL of the photo. In this case, baseUrl should contain both the scheme and hostname.
You should also be aware that some latency when fetching the image can cause it not to be included in the PDF. For instance if the photo hasn't been cropped yet (opposed to the crop already being cached by Umbraco). A trick here could be to write your own logic to request the cropped image first, as it should then already be cached when the PDF generator requests the image later.
External in this case refers to files outside of the XML document, so you could also download the cropped images to the disk, and refer to them there instead instead.
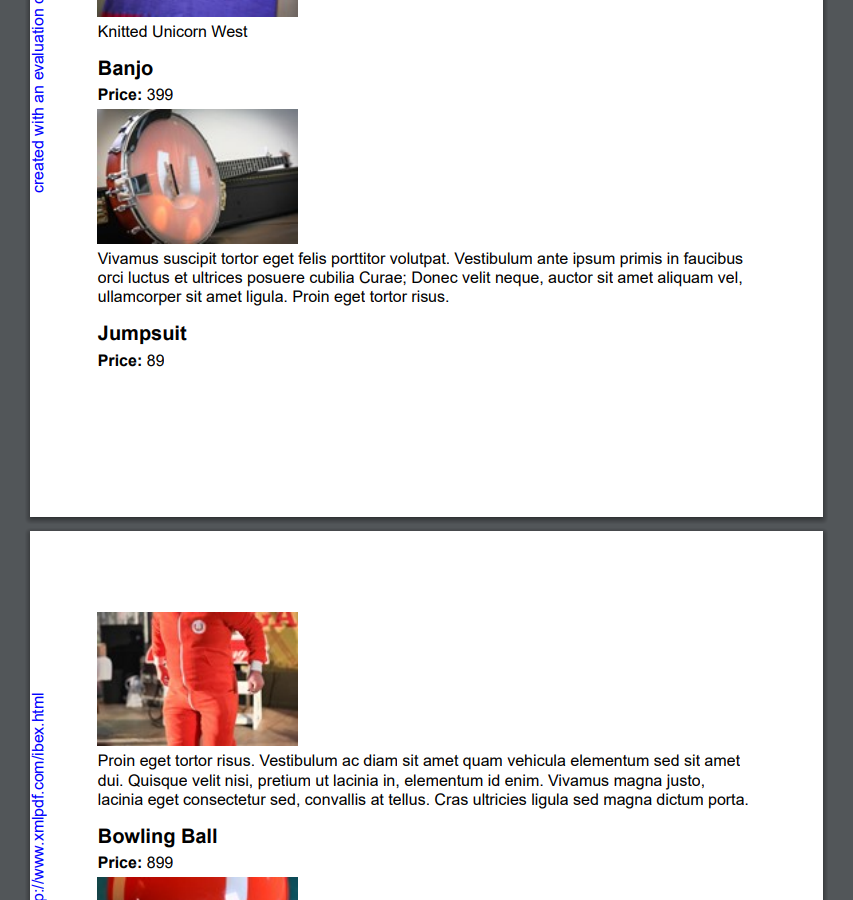
Keeping it together
Because of the picture, each product now takes up more vertical space - which unfortunately also means that all information for a given product isn't guaranteed to be shown on the same page - as illustrated by the screenshot below, where the Jumpsuit product is shown across two pages:
XSL-FO has various mechanics to avoid this - for instance the keep-together attribute, which you can add on almost any type of element. In this case, we just want to make sure each product is not shown across two pages, so we can add the attribute on the outer fo:block of each product. From the example shown earlier in this article, we had the following:
// Create a new container for the contents related to a product
FoBlock container = new FoBlock {
    FontFamily = "Arial",
    MarginBottom = "15px"
};
To add the keep-together attribute in C#, there is a corresponding KeepTogether property:
// Create a new container for the contents related to a product
FoBlock container = new FoBlock {
FontFamily = "Arial",
MarginBottom = "15px",
KeepTogether = FoKeepTogether.Always
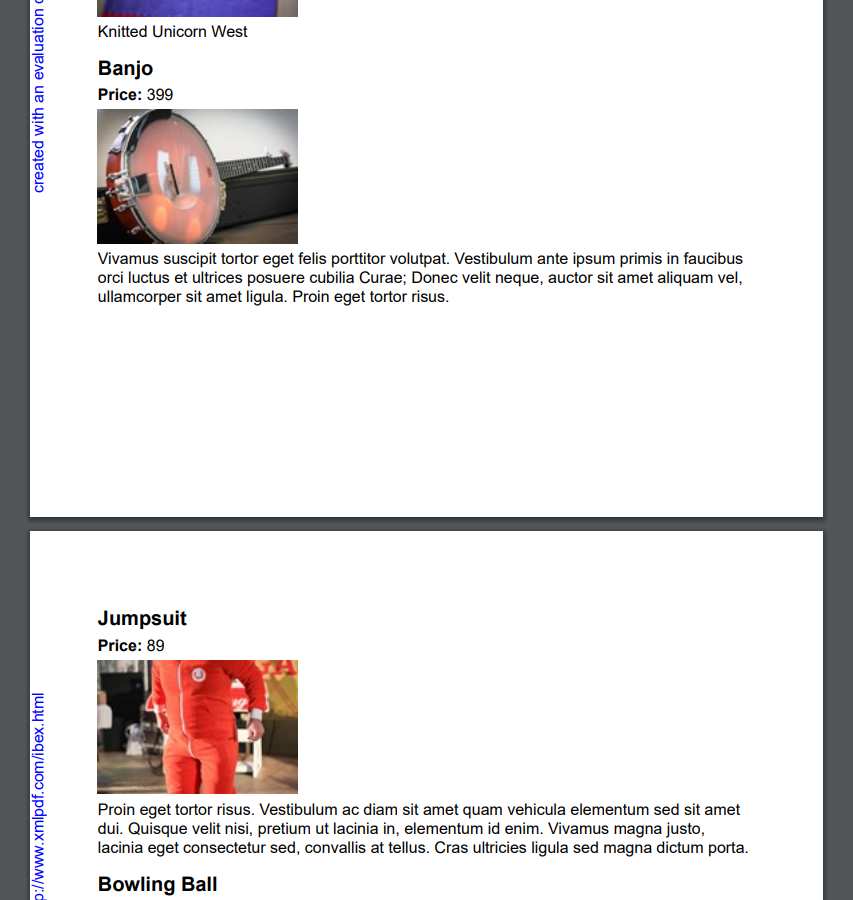
};A value of FoKeepTogether.Always makes sure the product stays on a single page. With the updated code, the Jumpsuit is now shown on the second page instead of partially being shown across both the first and the second page:
That's a lot of XML
As we now have added more elements to the outer fo:block of the product, it now looks something like the snippet below. As you can see, the XML quickly grew in size. Good thing you didn't have to write this by hand 😉
<fo:block font-family="Arial" keep-together="always" margin-bottom="15px">
<fo:block font-size="20px" font-weight="bold">Biker Jacket</fo:block>
<fo:block margin-top="5px">
<fo:inline font-weight="bold">Price:</fo:inline>
<fo:inline>199</fo:inline>
</fo:block>
<fo:block margin-top="5px">
<fo:external-graphic src="url(http://localhost:63754/media/55514845b8bd487cb3709724852fd6bb/00000006000000000000000000000000/4730684907_8a7f8759cb_b.jpg?anchor=center&mode=crop&width=150&height=100&rnd=132013940018000000)" />
</fo:block>
<fo:block margin-top="5px">Donec rutrum congue leo eget malesuada. Vivamus suscipit tortor eget felis porttitor volutpat.</fo:block>
<fo:list-block>
<fo:list-item font-size="14px" margin-top="15px" margin-left="15px">
<fo:list-item-label>
<fo:block>-</fo:block>
</fo:list-item-label>
<fo:list-item-body>
<fo:block margin-left="15px">
<fo:block font-weight="bold">Free shipping</fo:block>
<fo:block>Isn't that awesome - you only pay for the product</fo:block>
</fo:block>
</fo:list-item-body>
</fo:list-item>
<fo:list-item font-size="14px" margin-top="15px" margin-left="15px">
<fo:list-item-label>
<fo:block>-</fo:block>
</fo:list-item-label>
<fo:list-item-body>
<fo:block margin-left="15px">
<fo:block font-weight="bold">1 Day return policy</fo:block>
<fo:block>You'll need to make up your mind fast</fo:block>
</fo:block>
</fo:list-item-body>
</fo:list-item>
<fo:list-item font-size="14px" margin-top="15px" margin-left="15px">
<fo:list-item-label>
<fo:block>-</fo:block>
</fo:list-item-label>
<fo:list-item-body>
<fo:block margin-left="15px">
<fo:block font-weight="bold">100 Years warranty</fo:block>
<fo:block>But if you're satisfied it'll last a lifetime</fo:block>
</fo:block>
</fo:list-item-body>
</fo:list-item>
</fo:list-block>
</fo:block>Page header and footer
With larger PDF documents, it may be a good idea to add page numbers to either the header of footer of your pages. And as the PDF we're generating in this article lists a number of products, it may also be relevant to show a company name and logo.
Similar to how we added the fo:flow element to the page sequence earlier, we can also add fo:static-content elements to the page sequence. Each fo:static-content element refers to a specific area - specifically the ones we initially defined for the master page. fo:static-content elements are shown on all pages within the page sequence they have been added to.
Header
Because we earlier named our fo:region-before element header, we can add a new fo:static-content to our page sequence by referencing this name. The code for this could look like:
// Initialize a new static content for the header (before region)
FoStaticContent header = new FoStaticContent("header");
page.StaticContent.Add(header);
With the fo:static-content element in place, we can start adding some content to it. For the sake of this article, let's add the Skrift logo to the top right corner:
// Initialize a new external graphic for the logo
FoExternalGraphic logo = new FoExternalGraphic(Server.MapPath("~/images/skrift-logo.png")) {
    ContentHeight = "20px"
};

// Append the logo to the header
header.Add(new FoBlock(logo) {
    TextAlign = FoTextAlign.Right
});
In this case, the logo is larger than we wish to show it, so we can control the height via the content-height attribute. As we don't set a similar content-width attribute, the aspect ratio of the image is kept.
As PDF documents can be printed on paper, it's normally a good idea to save graphics like logos in 300 dpi (instead of 72 dpi, which is typically used on the web). However most often, when we're downscaling an image with content-height, this doesn't appear to be necessary.
With the logo in place, the header now looks like this:
Footer
Similar to the header, we gave the fo:region-after element the name footer. The code for adding the fo:static-contentelement therefore looks like:
// Initialize a new static content for the footer (after region)
FoStaticContent footer = new FoStaticContent("footer");
page.StaticContent.Add(footer);
For showing the current page number, we can use the fo:page-number element, whereas the fo:page-number-citation-lastrefers to the page number of the last page in the page sequence.
// Initialize a new fo:block and append it to the footer
FoBlock footerBlock = new FoBlock {
    FontSize = "10px",
    TextAlign = FoTextAlign.Center
};
footer.Add(footerBlock);

// Append page number elements to the footer
footerBlock.Add("Page");
footerBlock.Add(new FoPageNumber());
footerBlock.Add("of");
footerBlock.Add(new FoPageNumberCitationLast {
    PageCitationStrategy = FoPageCitationStrategy.All,
    ReferenceId = page.Id
});
For the fo:page-number-citation-last element, we reference the ID of our page sequence. You can also reference another page sequence should you have more than one.
Also notice that the fo:page-number-citation-last element doesn't appear to be supported by FO.net.
Test solution
In this article I've shown various code examples. Individually they may not give the full picture, so I've put together a test solution where you can play around with the code. It's an Umbraco 8.0.2 solution based on The Starter Kit. The login for the backoffice is skrift@skrift.io for the username and SkriftRocks1234 for the password.
The solution has a dependency my package Skybrud.Pdf as well as references to both ibex40.dll and Fonet.dll.
API controller
The test solution contains an API controller which is responsible for generating a PDF with all the products from the starter kit. It's more or less the same code as shown in this article, but put together in one class.
If you download the test solution and press F5 in Visual Studio, it will open up the site in your browser. You should then be able to access the PDF at the following URL:
http://localhost:62732/umbraco/api/Pdf/Products/
IBEX
If you have a valid license for IBEX, you can specify the license key during startup - or just before you try to render any documents using the IBEX generator:
Generator.setRuntimeKey("your license key here");On the other hand, if you don't have a license, IBEX will run in evaluation mode showing a blue disclaimer text on the left side of each page. This means can you can test and play around with it before purchasing a license.
FO.net
The Fonet.dll assembly included in the solution is build from Lee Kelleher's FO.net fork. Unfortunately the original source repository as well as any forks I've been able to find are no longer maintained, so I would recommend going with IBEX if you or your client can pay for a license.