
Something that comes up frequently when creating content is the need to categorize that content. A taxonomy can be useful for articles, news, blogs or any other type of content which lends itself to being organized into groups of similar items Categories are especially useful for content which site visitors might want to filter by type in order to facilitate finding the information they want. With Umbraco, we can quickly build out a simple taxonomy. To build a taxonomy, we just need a couple of document types and a multi-node picker data type. Once we have those, we can start categorizing other document types.
At this point, you might be thinking - "I could have figured that out" - and you would be right. But, why bother? While there's nothing complicated about building out a taxonomy, there's also nothing exciting or inventive about it either. So, instead of re-inventing the wheel, read on and copy the steps below to quickly set up a simple way to categorize content. Even better, there's a nuget package - ContentModel.Umbraco.Taxonomy - created especially for you! You can find it on nuget.org or install with this command:
Install-Package ContentModel.Umbraco.Taxonomy -Version 1.0.0Without further ado, let's get started.
Creating the document types in the back office
- Navigate to the Settings section.
- Right click on Document Types and create a new "Document Type" (without a template) named "Category."
- Add a group named "Category Details."
- Add a property configured as follows:
- Name = "Title"
- Select the "Textstring" editor
- Mark the field as mandatory
- Add another property configured as follows:
- Name = "Description"
- Select the "Textarea" editor
- Set the permissions to allow the "Category" type as a child node of itself.
- Save.
- Right click to create another new document type (without a template) named "Taxonomy."
- Set the permissions to all a "Category" as a child node.
- Enable the "Allow as root" option.
- Leave all other properties set to their default values and save.
Creating the data type in the back office
- From within the Settings section, right click on "Data Types" to create a new data type named "Category Picker - Multiple."
- Select the "Multinode Treepicker" editor.
- Set the node type to "Content."
- Add "Category" as an allowable item type.
- Leave all other properties set to their default values and save.
Categorizing content
Now you can add a new property which uses the "Category Picker - Multiple" editor to any document type where categorization is needed. A couple of examples are categorizing financial rates as shown here:

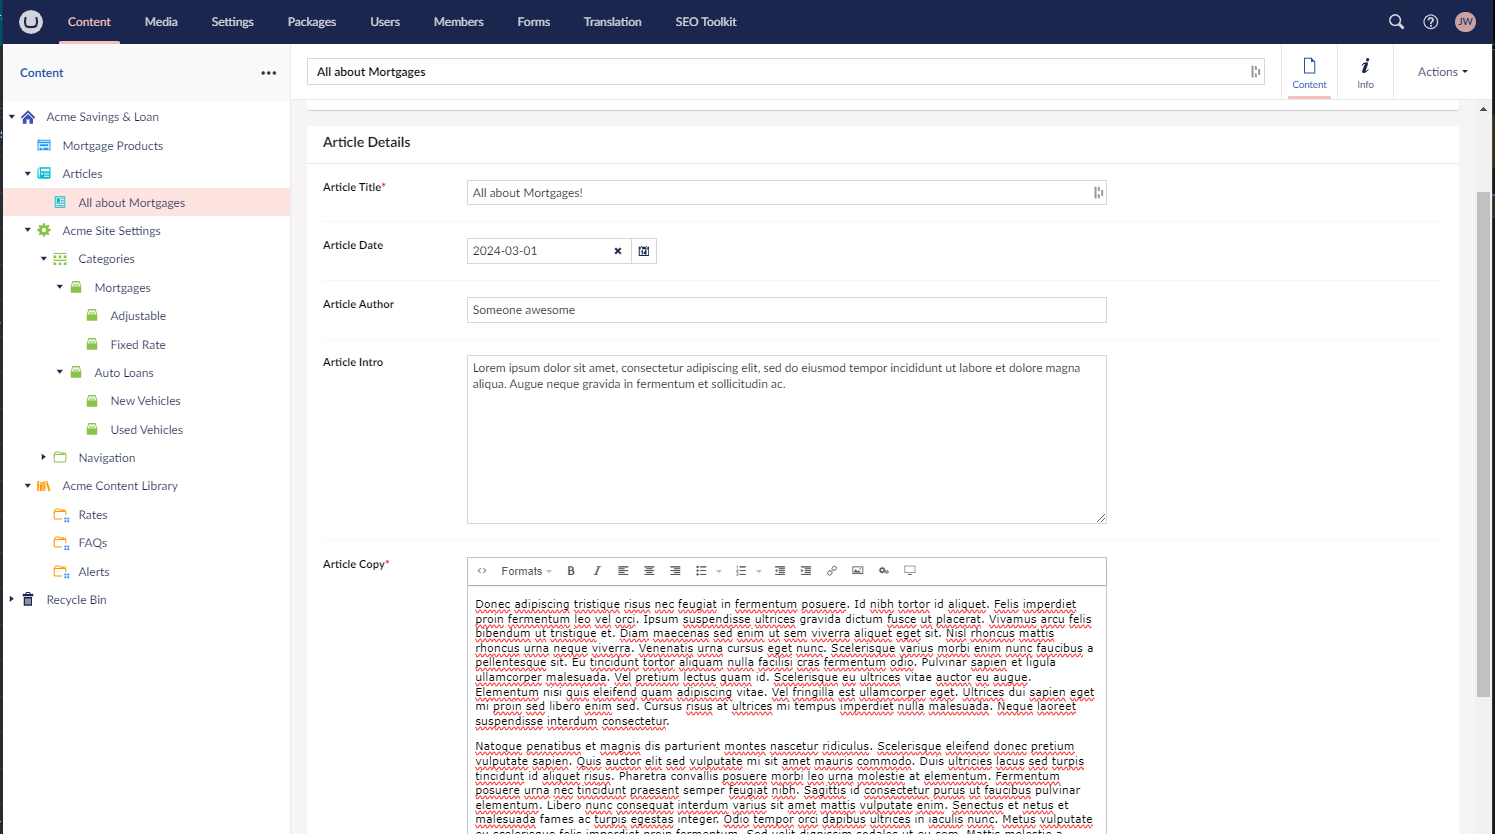
Or articles as shown here:
Once you have added a category property to a document type, you can access those categories in your views just as you would any other property data and style it any way you choose. One quick and easy way to read and display categories in a view is as follows:
@if (Model.Categories != null && Model.Categories.Any())
{
    @: @string.Join(", ",Model.Categories.Select(x=>((Category)x).Title))
}
Or you can get fancy and create an extension method like so:
 public static class TaxonomyHelpers
 {
     public static string GetCommaDelimiatedCategories(this IEnumerable categories)
     {
         return string.Join(", ", categories.Select(x => ((Category)x).Title));
     }
 }
Tada! Now you have an easy way to categorize content which also allows content editors to update the taxonomy. You can build on this to create as simple or complex of a taxonomy as you need, add the ability to allow site visitors to filter content by category, limit certain content to specific areas of the site or add any number of other features related to grouping and categorizing content.
It really was a simple as you thought it would be, but now you don't have to think about it. You can move on to building more interesting features or solving more important business problems with your brain power!