
Recently, the Skrift team had a fun opportunity to do a virtual join-in on the Glasgow Umbraco User's Group's (GLUUG)Christmas meetup. Despite working for a team in England myself, I still find it awesome and crazy how easily we can connect to people across the world. The meetup was a lot of fun with Christmas sweaters (or jumpers as you Europeans would call them), cookies, and chatting about the Umbraco Cloud.
One of the topics that came up during the meetup was how Visual Studio Code is awesome and it would be great if it could be the only tool that developers needed to use, but that you have to run Visual Studio if you want to build your code. To this, I say: Ah-hah! No, you don't! You can in fact use VS Code and build your projects using tools like grunt or gulp. In this article, I'm going to show you how to run MS Build using grunt because that's what I'm the most familiar with, but gulp also has an MS Build plugin if it's a tool you like to use and are more familiar with. VS Code also has a bunch of native build items installed that can be used with typescript and includes MS Build. I've never done it that way, but if it's something you want to try, you can check out their tasks documentation.
Now, this article came about from the intent of using VS Code, but you can use any tool you like and have grunt watching your .csproj file and running the build for you. That said, since the discussion was based around it, let's get you started with VS Code and it's C# tools and then we'll get grunt running and building your project!
Getting started with VS Code
If you already have VS Code installed and the appropriate C# packages running, you can skip down to the next step!
Step one is always download the project and install, right? I'm not going to walk you through the step-by-step of VS Code's install other than to say you can download it here and get it going. I found the install very straightforward.
After that, you're going to want to get set up with the C# for Visual Studio Code extension. If you're curious about all the C# support that VS Code offers, they have a whole document on it and it's reasonably extensive, although it does not do debugging - sorry folks, you'll have to use Visual Studio if you need to step through your code.
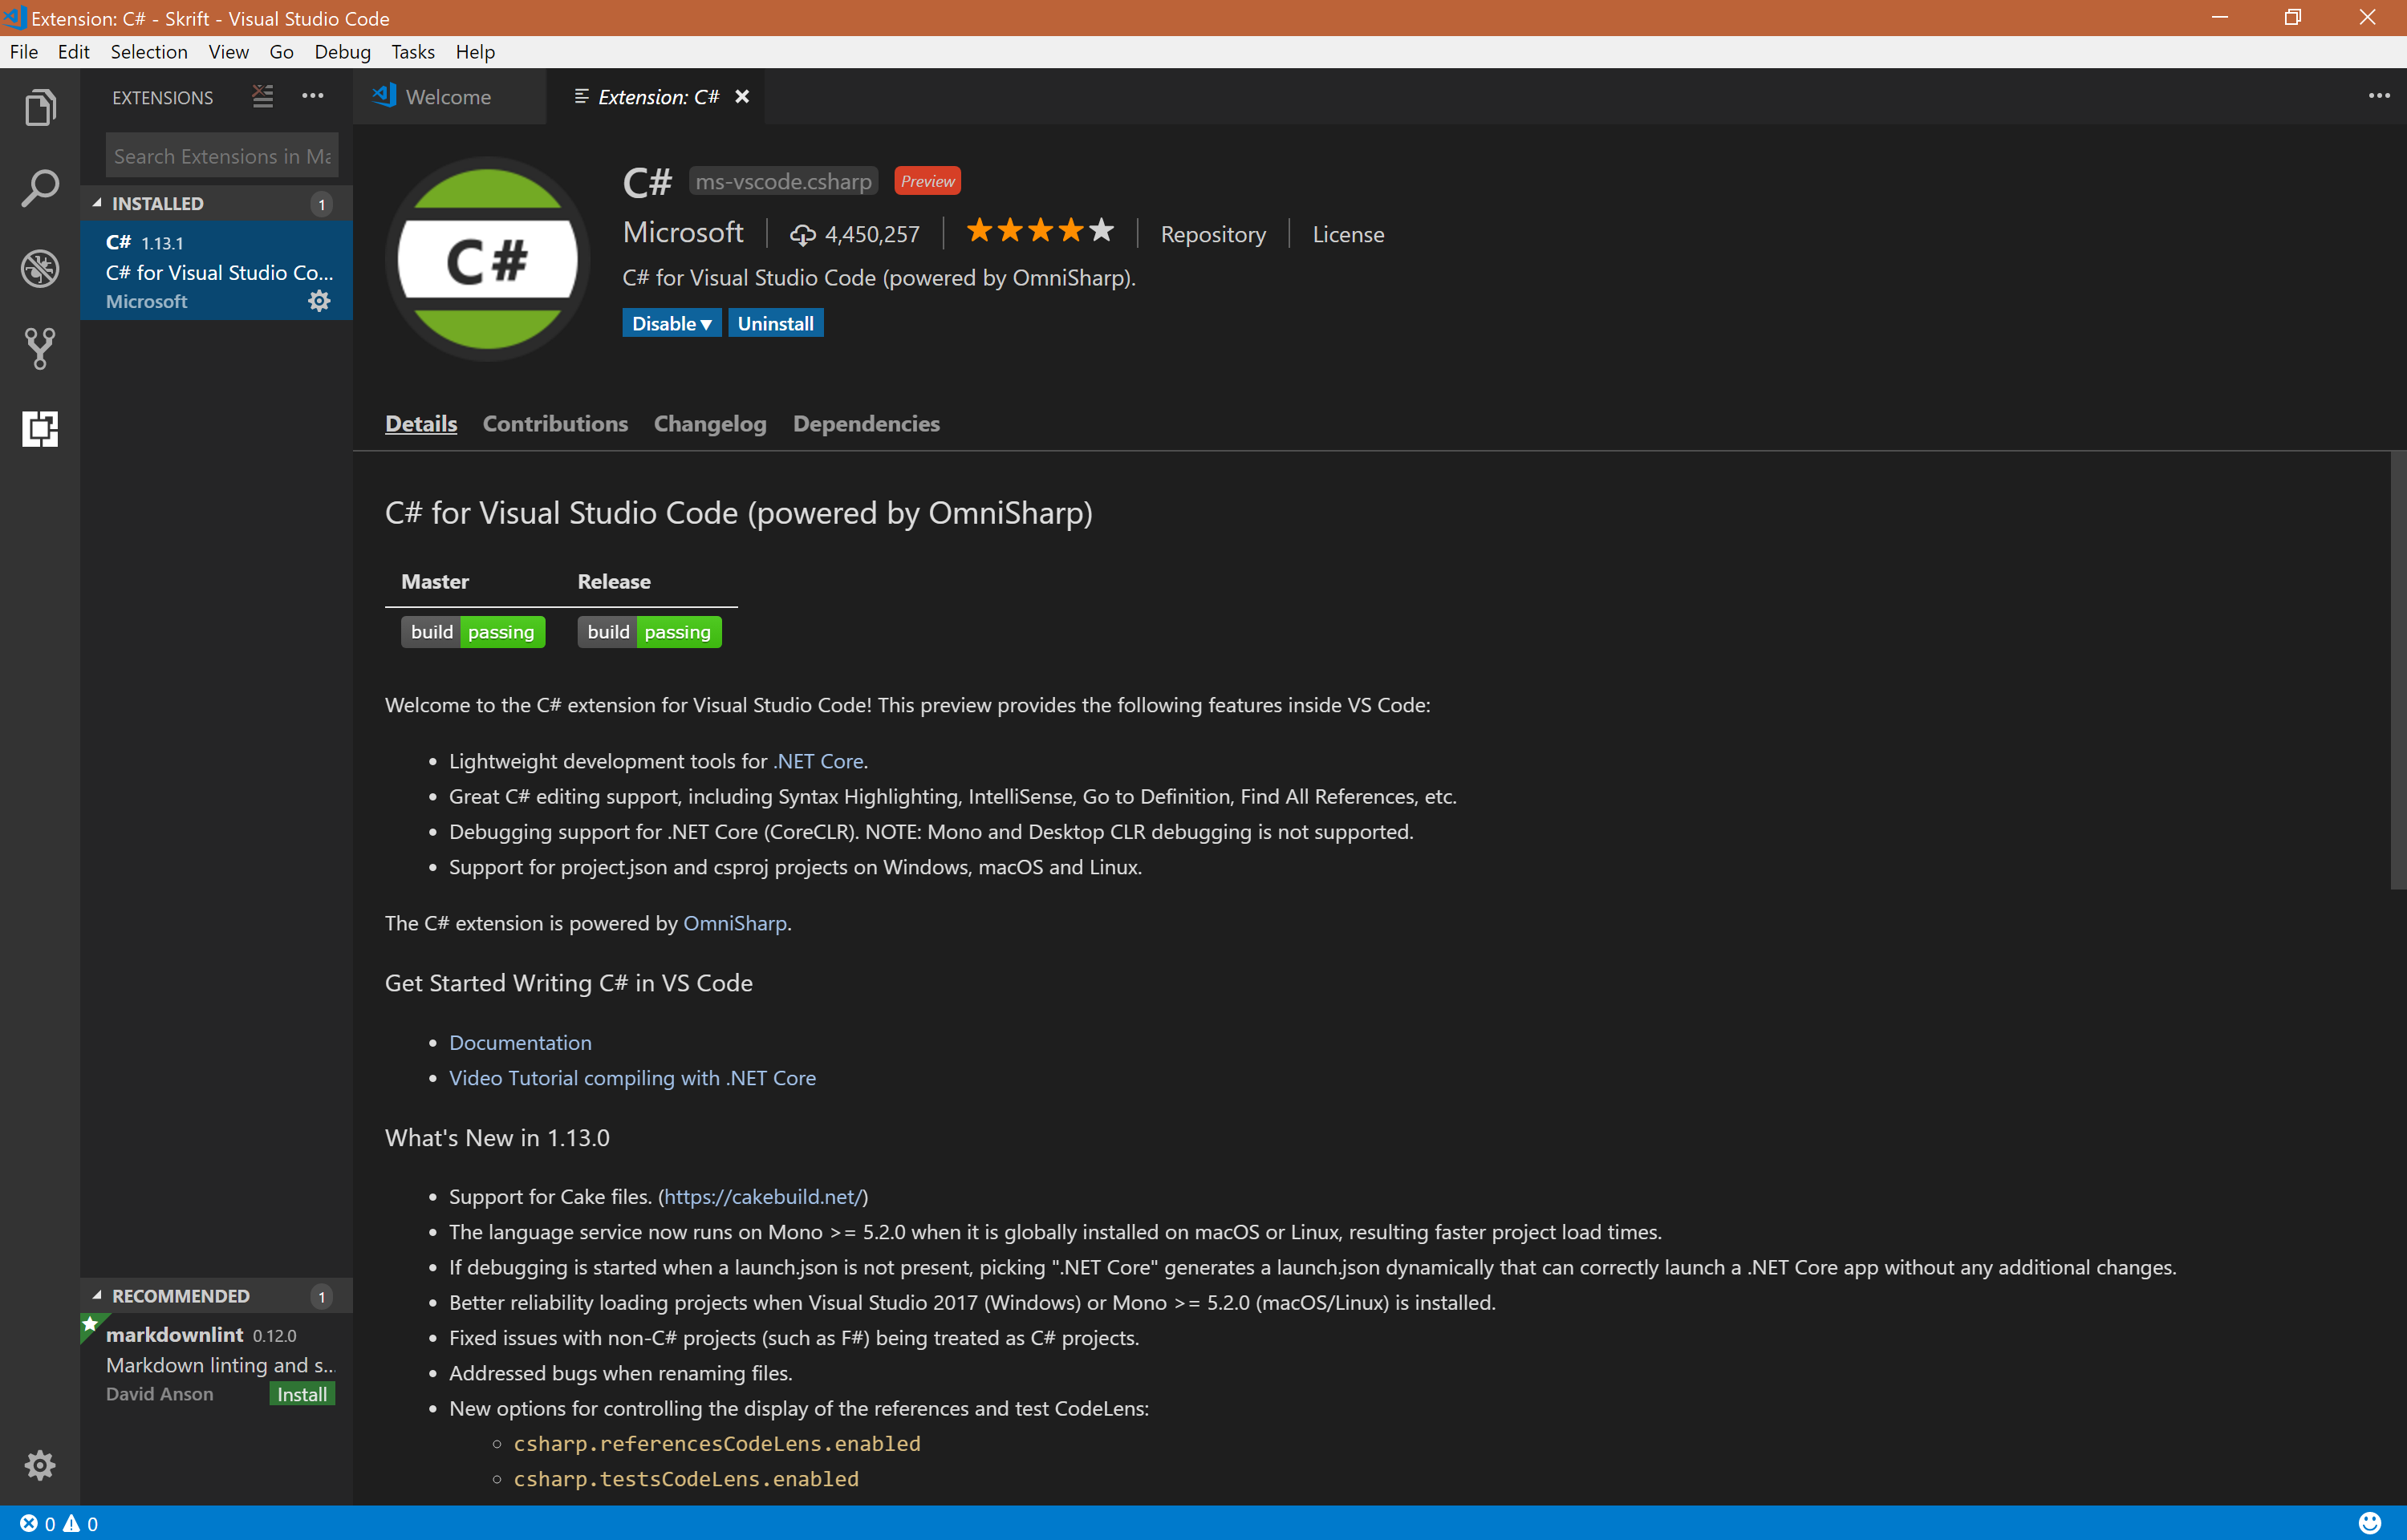
To install the C# Extension, select the Extensions icon from the menu in the left of VS Code and search for C#. You'll be looking for the one by Omnisharp. Note: You might not see the Extensions icon in the sidebar if it's been turned off. If that's the case, go to View > Extensions, and you'll get there.
Now you'll have C# intellisense and be able to step into definitions from one file to another. Super handy!
Getting NPM & Grunt Installed.
After you have VS Code set up, the next step in the process is getting set up with NPM and Grunt. If this is something you already have running, feel free to skip to setting up MS Build for grunt. Otherwise, bear with me!
Installing NPM
First, you'll want to install NPM, which runs differently on different operating systems. I use Windows, but (unlike when I started with npm...), there's some pretty good documentation to get you going with the setup here, and it will walk you through your specific operating system.
Intitializing your package.json file
Once you have that installed and set up, it's time to test it on a project. You'll do this by initiating npm to create your basic package.json file via command line. Now, you can open a new command window for this or you can open the built in command window in VS Code, which I prefer because it keeps it all in one place. If you're on Windows, the hotkey is Ctrl + `, but you can also open it with View > Integrated Terminal. Enter:
npm init
This will walk you through setting up a starting file that will hold all your node packages. After you've answered all the questions and initialized it, you should see a generated package.json file in the root of your project with the information you filled out. Voila! Success.
Installing Grunt
Next, time to install the package we want to use: Grunt. If you want this to be available over all your projects, you can give it a global install using:
npm install -g grunt-cli
And if you want to use it only on this project, you can use:
npm install grunt --save-dev
If you do the latter and open the package.json file you generated, then you'll see it now has a section for dev dependencies that includes grunt, like so:
"devDependencies": {
    "grunt": "^1.0.1"
  }
Installing Grunt dependencies
Other than MS Build, which we're getting to below, there will be a couple grunt dependencies we use for my particular style of running the build. In this case, you'll want to install:
npm install load-grunt-tasks --save-dev
npm install grunt-contrib-copy --save-devInstalling and running MS Build via Grunt
Now that we have grunt installed, we need to get MS Build running through it. This requires a few things:
- The Grunt MS Build module, which has documentation here
- A .csproj file to generate the build from
- A Gruntfile.js file, which holds all the Grunt settings
Installing grunt-msbuild
If you're a long time user of NPM, you'll be familiar with this pattern, and if you're a new user you'll quickly recognize it. Basically any install of an NPM package, whether it's a client like grunt or a package that extends grunt, starts with npm install. So, to install the grunt version of MS Build, we follow this same pattern in our command line:
npm install grunt-msbuild --save-dev
Pro Tip: Putting --save-dev at the end of an install adds it to the package.json file, which means anyone else who starts on the project can run npm-install and it will grab all the packages from the package.json file and automagically install them.
Setting up your .csproj file
So, here's our first "gotcha" to going Visual Studio free and swapping to VS Code. I don't know about you, but I've never set up a .csproj file by hand and I don't really want to. I always load Visual Studio and create a new project there, letting it generate the .csproj file for me so I don't have to deal with build or XML validation. Yuck. If you want to take on the extensive endeavor of setting up a project and adding your own manually created .csproj file, I salute you and your incredible dedication, but I'm going to go load Visual Studio and make a new project (which I will put as an example on Github for you all to view at the end of this article).
If you've never created a new project in Visual Studio, that is OK. Microsoft has helpful documentation to get you going. At this point, I'm just going to assume that you have a .csproj file you're working from and that's where we're going to get our build information for the next step.
Setting up your basic Gruntfile.js file
Every Grunt file requires a basic setup, which starts with creating a file named Gruntfile.js. I prefer to put mine in the root of my website, but I've seen other people put it one folder above in the root of their solution. It's really based on your personal preference. After the file has been created, you'll need to fill it in with basic settings, like so:
module.exports = function(grunt) {
    require("load-grunt-tasks")(grunt);
    var path = require("path");

    grunt.initConfig({
        pkg: grunt.file.readJSON("package.json"),
        dest: grunt.option("target") || ".",

        // We'll add MS Build and our watch tasks to this section
    });

    grunt.registerTask("default", [
        // All the tasks we've created above get initiated here
    ]);
};
This is the basic structure that we're going to add to. Inside the grunt.initConfig({}); we'll be putting our MS Build task as well as two other tasks:
- Copy: This will copy the generated dll from one project to another folder
- Watch: This will allow us to run the build every time we save a file
Adding MS Build to Gruntfile.js
As I stated above, the next snippet of code goes where I have the comment for adding tasks to the grunt.initConfig({}); section. Beneath the comment, we'll want to add the first (and most important) step of building our project - MS Build itself. There are a variety of settings that you can implement, like Debug vs Release and Build vs Rebuild, which you can view on the grunt-msbuild documentation. The settings I use are like so:
msbuild: {
    options: {
        stdout: true,
        verbosity: 'quiet',
        maxCpuCount: 4,
        version: 4.0,
        buildParameters: {
        WarningLevel: 2,
        NoWarn: 1607
        }
    },
    dist: {
        src: ['../Skrift/Skrift.csproj'],
        options: {
            projectConfiguration: 'Debug',
            targets: ['Clean', 'Rebuild'],
        }
    }
}
Adding this will get the build going and compile your .csproj file into your .dll!
Watching and Copying
The other handy little scripts I tend to add above my msbuild task are copy and watch, as stated above.
To define your copy task, set the source and destination for where you want to take the file from and move it to. I have a <%= dest %> variable that is defined at the top of the gruntfile's init. This allows me to set a destination (this can be nice for working on a package and building it directly into an Umbraco project) or use the default destination of my current project's website folder:
copy: {
    dll: {
        cwd: '../Skrift/bin/debug/',
        src: 'Skrift.dll',
        dest: '<%= dest %>/bin/',
        expand: true
    }
},
Once we have that set up, the watch task is defined by telling it what files to watch being saved and then running both msbuild and our copy task in that order. Build the project then copy it on every .cs file save.
watch: {
    options: {
        spawn: false,
        atBegin: true
    },
    dll: {
        files: ['../Skrift/**/*.cs'] ,
        tasks: ['msbuild:dist', 'copy:dll']
    }
},
Register your tasks in Gruntfile.js
Now that we've added our tasks the last step before everything just automatigically works is to register those tasks so we can actually call them. This is done in the bottom of our Gruntfile.js.
grunt.registerTask("default", [
    "msbuild:dist",
    "copy:dll"
]);
Now, whenever we use grunt in our command line (or, as I said, my preferred location - the VS Code Terminal), it will run MS Build and copy it. Alternately, each command can be run separately. Here are your options:
To Run MS Build and Copy
grunt
To Run MS Build
grunt msbuild
To Run just the Copy
grunt copy
To Run the Watch
grunt watch
To Run the Watch with a Specific Target Folder
grunt watch --target="C:\Github\MyWebsiteTarget\"
Note: For this, it will automagically find the \bin\ folder inside MyWebsiteTarget, and if there isn't one, one will be generated.
Gotchas
The .csproj file
I already talked about how creating the.csproj file is a huge gotcha and is a lot of trouble, but I want to state that maintaining the .csprojfile in general is a lot of trouble and does require some additional management or the use of Visual Studio.
When you create a new file in Visual Studio, it automagically updates your .csprojfile, but VS Code will not do this, so you will have to manually add any new files to your .csprojfile. I don't find this nearly as tedious as creating the file in the first place, but it's an easy step to forget, so I would recommend still using Visual Studio for creating new files unless you want to be really hardcore (and have a lot of reminder sticky notes on your desk).
Debugging
I stated very briefly in my opening that VS Code does not debug C# code at this time, so if you want to step through your code using debug tools, you will still have to use Visual Studio's debugging abilities.
GitHub
I've put together a very basic little repository on GitHub with all of this code mashed together so you can see it in action. I try to keep these examples as simple as possible so that you can implement it on any project without having to wade through a bunch of example fluff.
You can download it here: https://github.com/naepalm/skrift-grunt-msbuild
And if you have any questions/comments/extensions I don't know about that will handle some of my gotchas, I'd love to hear from you!