
Do you know that starting in Umbraco v11 the TinyMCE-based Rich Text Editor (RTE) that ships with the Umbraco CMS was updated to TinyMCE version 6? Why do you care, you ask? Because now Umbraco Developers and Implementers have access to all the paid features and plugins that TinyMCE offers like the Accessibility Checker, AI Assistant, Templating, and more! Are you excited now? Join me and discover how to setup and configure all that new power with a new package from ProWorks: TinyMCE Umbraco Premium.
What Are We Doing Again?
This article will walk through 8 easy steps:
- Setup a Vanilla Umbraco v13 site
- Install the TinyMCE Umbraco Premium package
- License TinyMCE Cloud Premium in Umbraco Configuration
- Configure the Accessibility Checker, Case Change, and Word Count plugins (this is where things get fun!)
- Configure the AI Assistant for ChatGPT plugin
- Configure the Advanced Templates premium plugin
- Other Options For Advanced Configuration
- High fives and much rejoicing (your experience may vary)
Here we go!
1. Setup a Vanilla Umbraco v13 site
You can setup your own Umbraco CMS from scratch or just use a site you already have (in which case, skip to Step 2).
Setup Umbraco From Scratch
Go to the Releases page on our.umbraco.com and select the latest v13 release (today it is 13.3.1).
On the release page there is a great quick way to setup the site on the command line:
dotnet new -i Umbraco.Templates::13.3.1
dotnet new umbraco -n "MyProject"
dotnet run --project "MyProject"
Does this all look confusing? Try a walkthrough video here: How to install Umbraco CMS using NuGet and Visual Studio on the Umbraco Learning Base YouTube channel.
Install the TinyMCE Umbraco Premium package
This package is installed via Nuget. For more detailed information, take a look at the TinyMCE Umbraco Premium package readme.
To install from the Nuget Package Repository you can run the following from the command line:
dotnet add package tinymce.umbraco.premiumRebuild and re-run the site.
License TinyMCE Cloud Premium in Umbraco Configuration
If you already have a TinyMCE paid subscription then login to your Tiny Account and find your API Key on your Dashboard.
If you don't have an API Key, no problem, you can get a free 14-day trial. Sign up for the trial here and get an API Key.
Copy this key to the clipboard.
Now add the following section to the bottom of the appsettings.json (or in the User Secrets file for the project).
"TinyMceConfig": {
    "apikey": "THE API KEY THAT YOU COPIED FROM THE DASHBOARD ABOVE"
}
Rebuild and re-run the site.
Note that this is different from the Umbraco configuration for licensing TinyMCE Premium as described in the Umbraco Documenation.
Also Note: this licensing configuration ALSO licenses the base Umbraco Richtext Editor (RTE) to allow for Premium plugins and sets up the base RTE to have toolbar items that work well out of the box.
Configure the Accessibility Checker, Case Change, and Word Count Plugins
Whew! You made it to the fun part! Give yourself a High 5!
Let's enable these TinyMCE plugins next:
All we need to do to enable these is to load up Visual Studio and write 400 lines of code... just kidding! It's way easier than that:
Go to the Settings section and create a new Data Type called "TinyMCE Premium RTE"
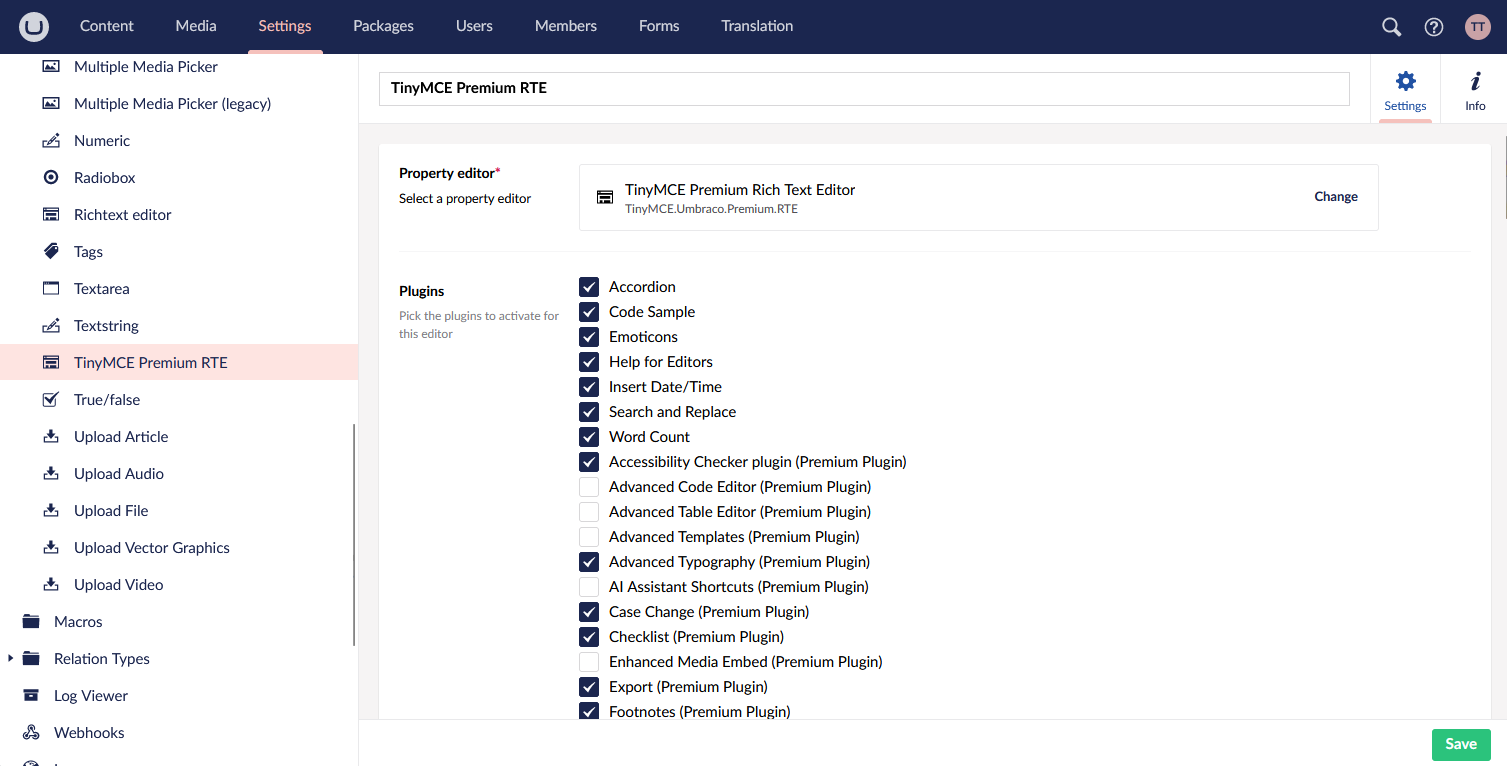
After that is created, scroll past the "Plugins" section to the "Toolbar" section:
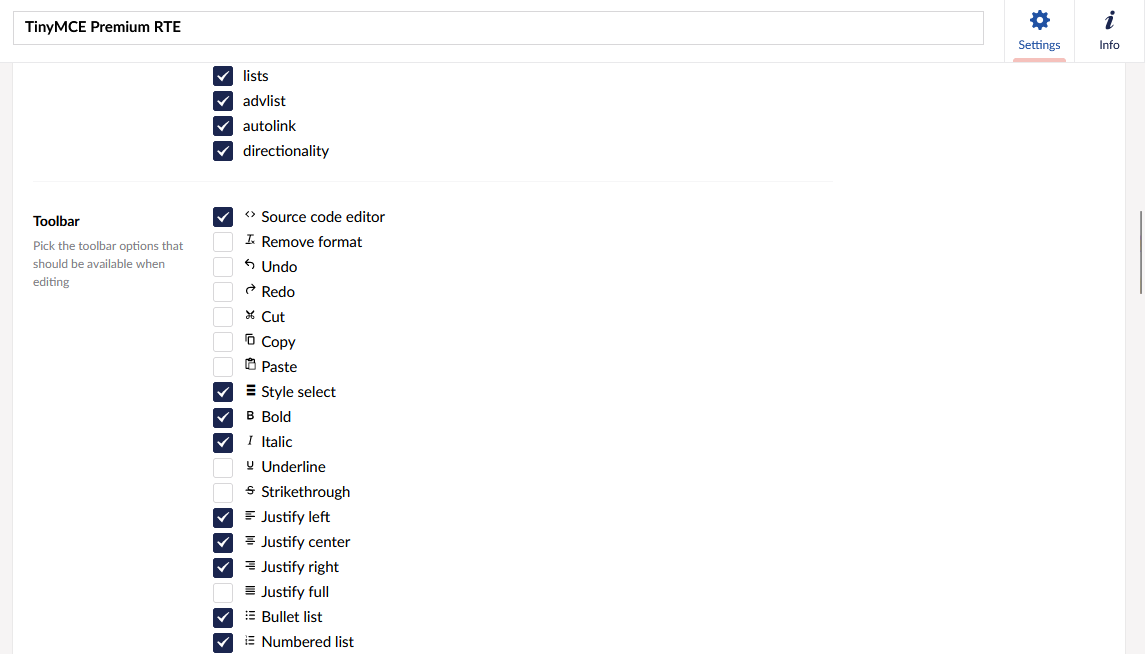
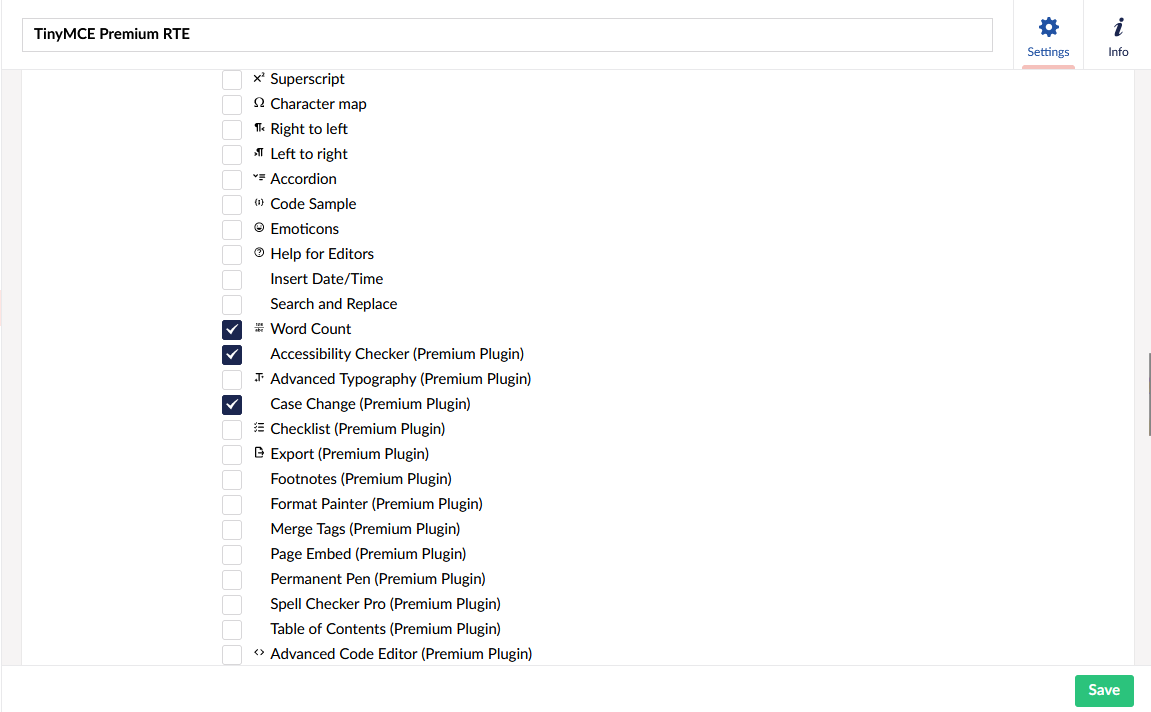
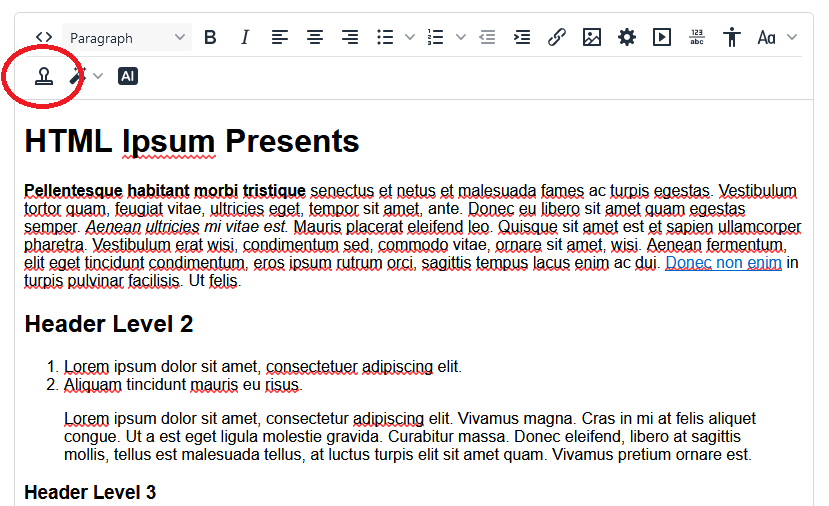
Then check the "Word Count", "Accessibility Checker", and "Case Change" toolbar items.
Now if you add your Data Type you just created to an existing Document Type (or one that you create now), then you will see three new Toolbar items in the TinyMCE Umbraco Premium editor in the Content area:

Many simple plugins are as easy as that! And as a bonus, these simpler plugins also work on Umbraco's base "Richtext editor" Data Type and can be enabled in the same way. No need to switch Data Types for these simple use cases!
Configure the AI Assistant for ChatGPT Plugin
Do you have an OpenAI / ChatGPT API key and want to add the TinyMCE AI Assitant to the RTE? Then follow along below to test it out!
If you don't have an OpenAI / ChatGPT API key, then either purchase one or skip this section.
Enable the AI Assistant Plugin
First, we need to enable the AI Assistant plugin and Toolbar. Its disabled by default because it needs extra configuration.
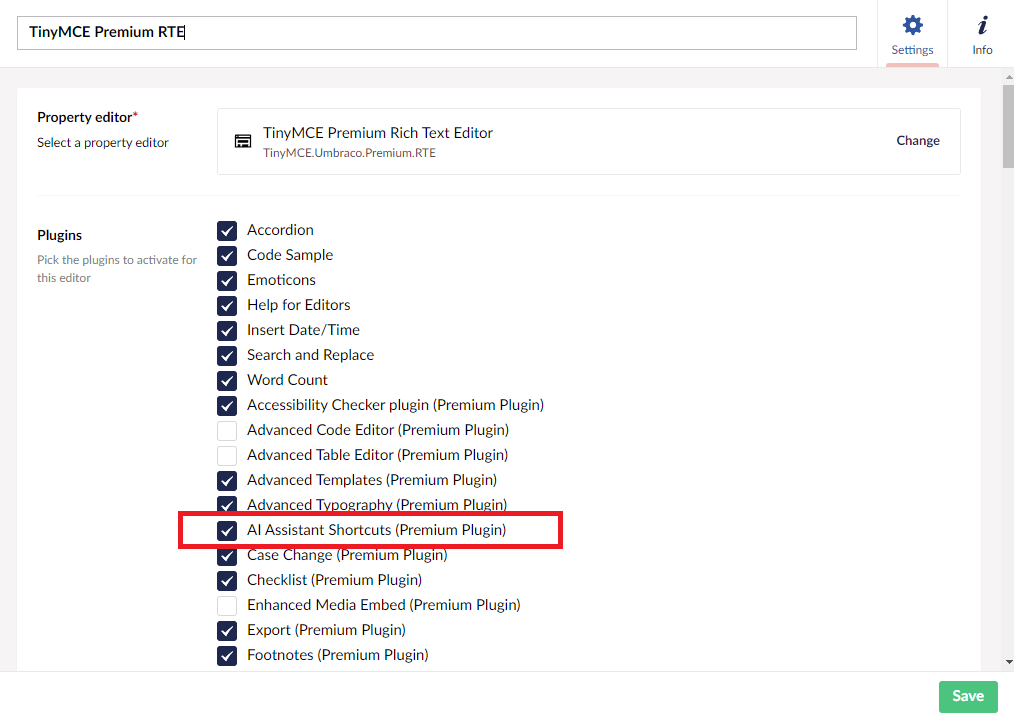
Go to the "TinyMCE Premium RTE" Data Type you created above in the Settings section.
In the "Plugins" area, check "AI Assistant Shortcuts (Premium Plugin)" to enable the plugin.
Next, enable the "AI Assistant (Premium Plugin)" in the "Toolbar" area.
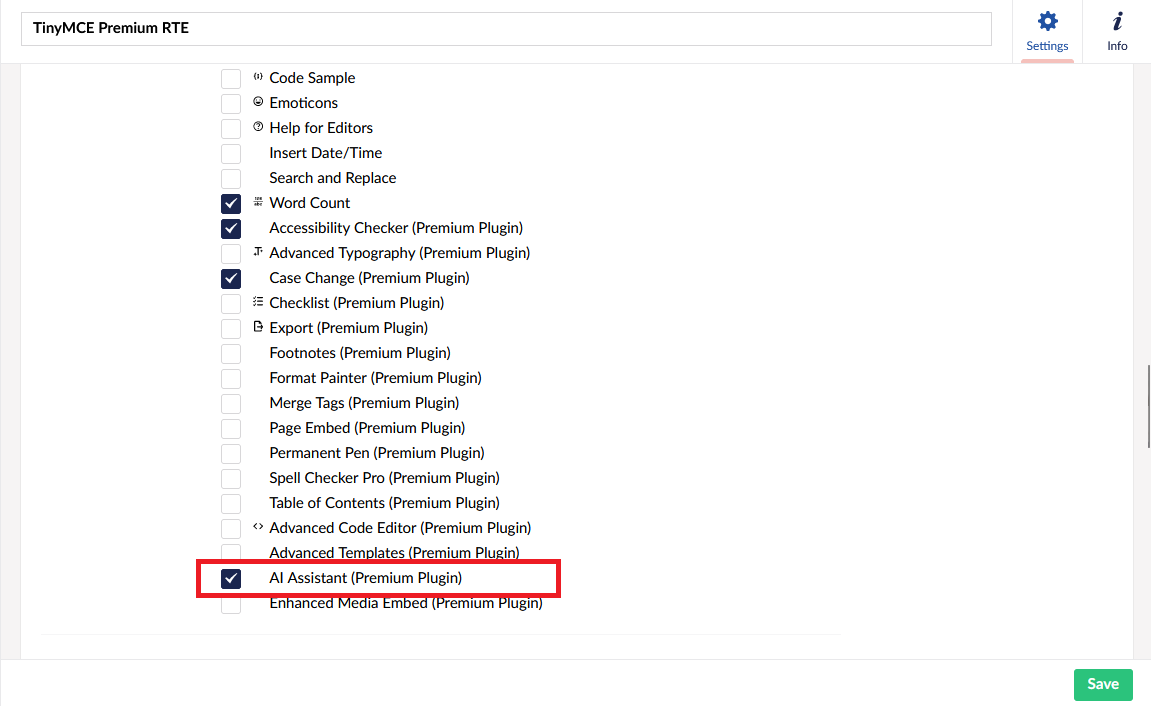
Save the Data Type.
Configure the AI Assistant Plugin
Now add your Open AI / ChatGPT API Key to the "TinyMceConfig" settings in the appsettings.json (or in the User Secrets file for the project).
    "TinyMceConfig": {
        ...
        "openAiApikey": "OPENAPI API KEY",
    }
Rebuild and re-run the site.
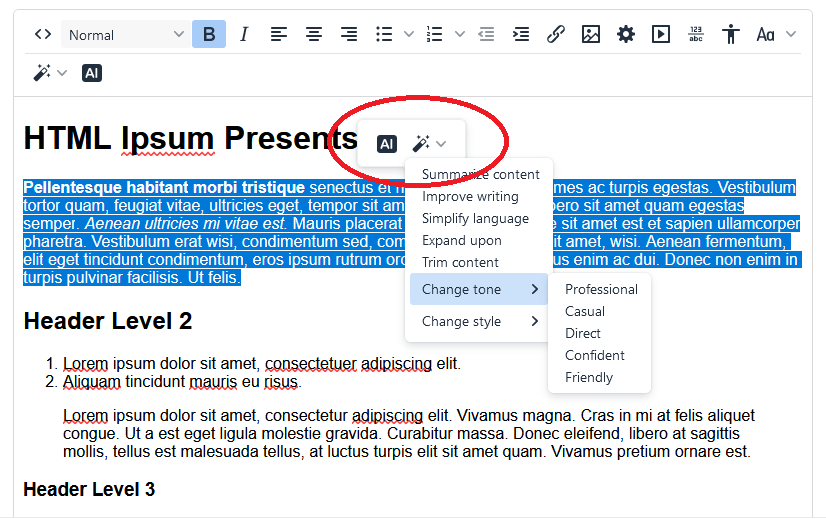
Now on your Content Page with the "TinyMCE Premium RTE" Data Type on it you should see the AI toolbar items and the AI Context Menu appear when you highlight text in the RTE.

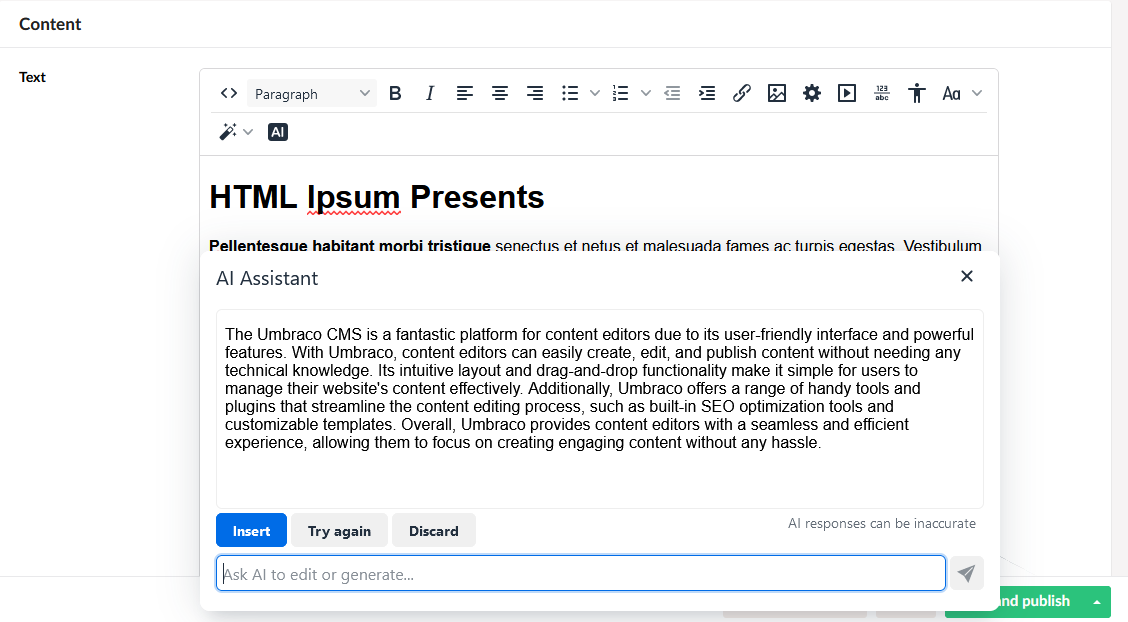
That's it!
The TinyMCE Umbraco Premium package is preconfigured to add the Open AI / ChatGPT API Key to the TinyMCE configuration without any more development changes needed. Pretty cool, right?
If you need a more specific implementation, you can override the configuration as well. That is beyond the scope of this article, but connect with me if you want more information on that topic or comment below.
Configure the Advanced Templates Plugin
The Advanced Templates plugin for TinyMCE Premium is useful to have frequently used responses or content that editors can quick add to the RTE.
It comes preconfigured with example templates, but you will want to override that for your needs. We will walk through how you can override that in the Data Type directly so you can have different templates for different Document Types. (No more global config, yay!)
Enable the Advanced Templates Plugin
First, we need to enable the Advanced Templates plugin and toolbar. It's disabled by default because it needs extra configuration.
Go to the "TinyMCE Premium RTE" Data Type you created above in the Settings section.
In the "Plugins" area, check "Advanced Templates (Premium Plugin)" to enable the plugin.
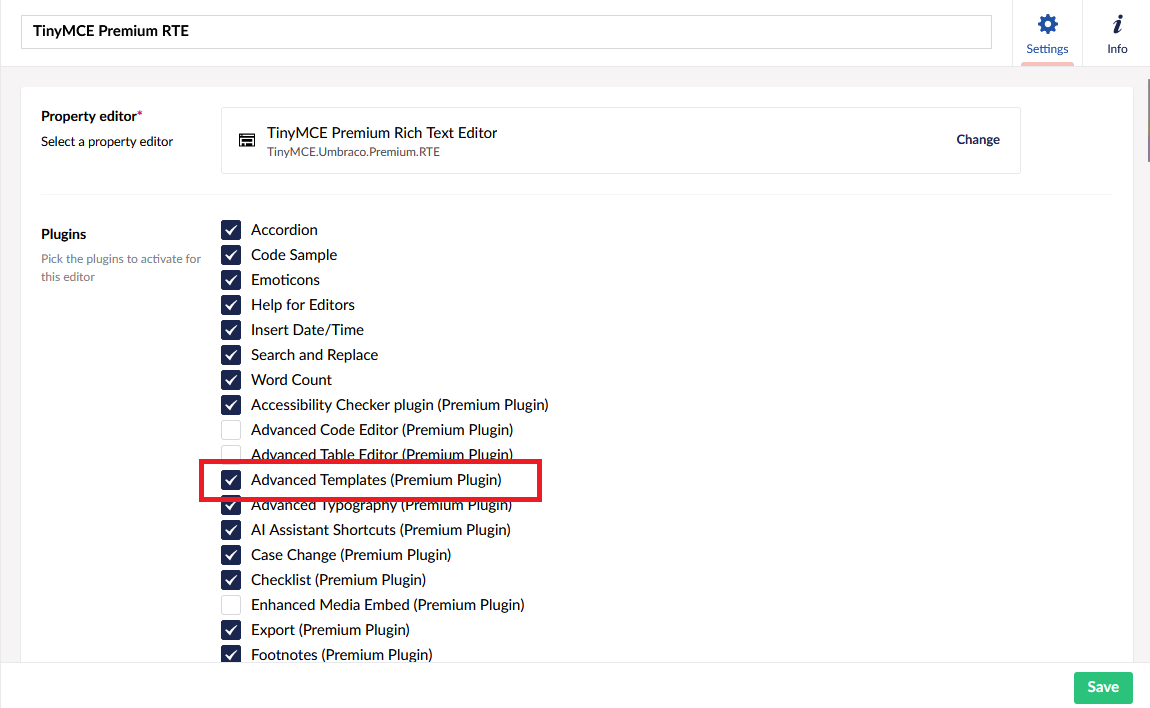
Next, enable the "Advanced Templates (Premium Plugin)" in the "Toolbar" area.

Save the Data Type.
Now on your Content Page with the "TinyMCE Premium RTE" Data Type on it you should see the Advanced Template toolbar.

Configure Your Templates
Go back to the "TinyMCE Premium RTE" Data Type. Scroll Down to the "CustomConfig" area and click "Edit":
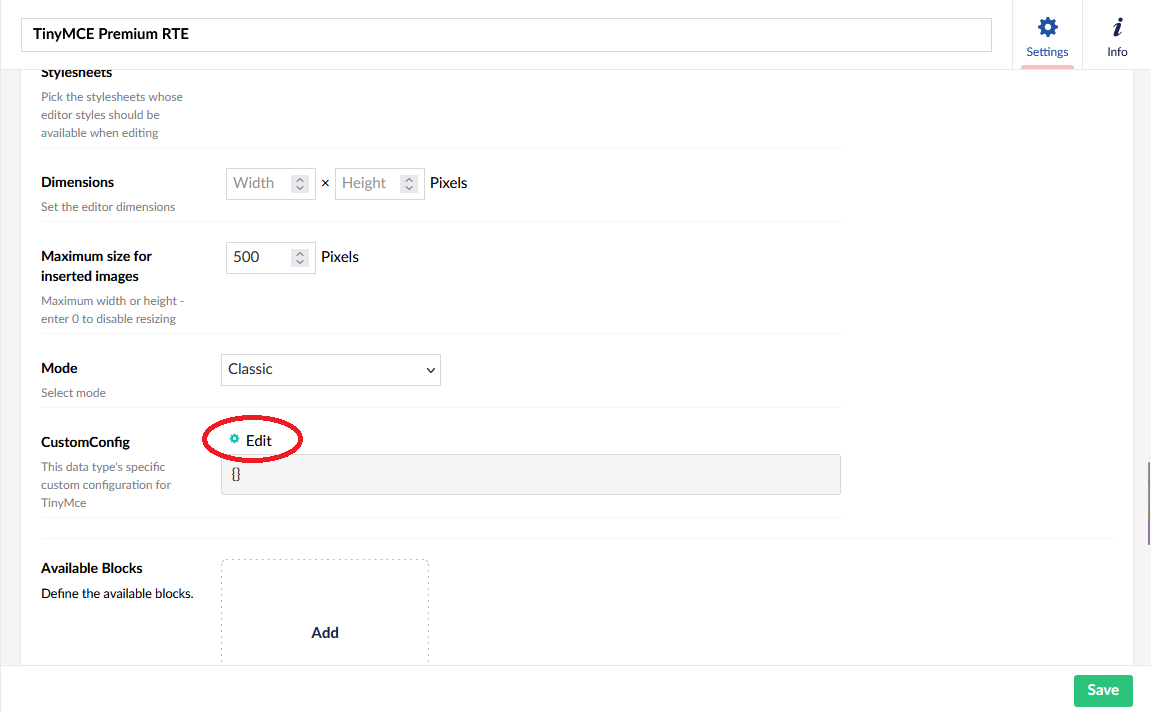
Paste in the following code into the "Edit Custom TinyMCE Configuration" code editor:
{
  "advtemplate_templates": [
    {
      "title": "Example Templates",
      "items": [
        {
          "title": "Intro Text",
          "content": "<p dir=\"ltr\">Welcome!</p>\n<p dir=\"ltr\">Thanks for visiting this page. Below you will find more information.</p>"
        },
        {
          "title": "Questions",
          "content": "<p dir=\"ltr\">If you have and questions or comments, please let us know via the contact form below.</p>"
        }
      ]
    },
    {
      "title": "More Samples",
      "items": [
        {
          "title": "You Rock!",
          "content": "<p dir=\"ltr\">High Five You Rock!</p>\n<p dir=\"ltr\">Thanks for being amazing!  We appreciate you!</p>"
        }
      ]
    }
  ]
}
Now go to the page in the Content section with the TinyMCE Premium RTE and your CustomConfig Advanced Templates will display instead of the default templates. Heck yes!

For more information on configuring the TinyMCE Advanced Templates check out the Tiny MCE documentation.
Other Options For TinyMCE Configuration
OK, so we've seen how easy it is to add in most of the TinyMCE plugins and configure them in the Umbraco back-office. But did you know there are two more cool ways to configure your TinyMCE plugins with this package? Of course not, that's why you're here :)!
Let's take a look a two ways to add custom configruation to this package and really spice things up:
Use JSON in the appsettings.config
I know this may come as a shock, but the appsettings.config doesn't support actual JSON in its settings. I know, I know you're thinking: "But this config IS JSON, Jason!" Currently, the values are actually Dictionary items and only support string values. So to add JSON into the "CustomConfig" setting of the "RichTextEditor" section in Umbraco settings you have to encode all the JSON. Insert Scream emoji
I have good news: you can add JSON into the config with the TinyMCE Umbraco Premium package.
Remember the Advanced Templates CustomConfig from Step 6 above? You can also apply it globally in the "customConfig" setting in the "TinyMceConfig" in the appsettings.config like this:
"TinyMceConfig": {
  "apikey": "Add To User Secrets",
  "openAiApikey": "Add To User Secrets",
  "customConfig": {
    "advtemplate_templates": [
        {
            "title": "Example Templates",
            "items": [
                {
                    "title": "Intro Text",
                    "content": "<p dir=\"ltr\">Welcome!</p>\n<p dir=\"ltr\">Thanks for visiting this page. Below you will find more information.</p>"
                },
                {
                    "title": "Questions",
                    "content": "<p dir=\"ltr\">If you have and questions or comments, please let us know via the contact form below.</p>"
                }
            ]
        },
        {
            "title": "More Samples",
            "items": [
                {
                    "title": "You Rock!",
                    "content": "<p dir=\"ltr\">High Five You Rock!</p>\n<p dir=\"ltr\">Thanks for being amazing!  We appreciate you!</p>"
                }
            ]
        }
    ]
  }
},
This is applied globally unlike the per-Data Type version above, but it works for any JSON configuration.
I think that is pretty cool. Sadly, there is one configuration use case that neither this nor the configuration on the Data Type can handle: Javascript functions.
Use Javascript In The Configuration
Some TinyMCE plugins require Javascript in the configuration to allow them to function. Examples include the AI Assistant plugin and the Mentions plugin. This method allows you to override the default AI Assistant plugin configuration included in the package with your own callbacks.
To allow Javascript to be present in for the configuration of the TinyMCE plugin you will need to add a custom App_Plugin to extend Umbraco's back-office.
Here are the steps below:
- Add an App_Plugins folder to the Umbraco project at the root if one is not present
- Add a folder and call it something like "TinyMCE.Premium.Overrides". This is arbitrary, but if you change it then the package.manifest will need to change the paths below.
- Add a new .js file to the "TinyMCE.Premium.Overrides" folder. Something like "tinymce.custom.config.js" works well.
- In the "tinymce.custom.config.js" file add the code below:
!(function () {

    function init() {

        window.tinymcepremium.Config.custom_user_config = {
            // Add your config here -- can contain javascript after the ":"
            // YEP, ITS A JAVASCRIPT CALLBACK
            mentions_fetch: (query, success) => {
                // Fetch your full user list from the server and cache locally
                var users = [
                    {
                        id: "1",
                        name: 'John Smith'
                    },
                    {
                        id: "2",
                        name: 'Joe Cool'
                    },
                    {
                        id: "3",
                        name: 'Zander Geulph'
                    }

                ];

                // query.term is the text the user typed after the '@'
                var filteredUsers = _.filter(users, function (user) {
                    return user.name.toLowerCase().indexOf(query.term.toLowerCase()) !== -1;
                });

                filteredUsers = filteredUsers.slice(0, 10);

                // Where the user object must contain the properties `id` and `name`
                // but you could additionally include anything else you deem useful.
                success(filteredUsers);
            }
        };
    }

    /**
    * Initialize after the app.ready event
    */
    angular.module("umbraco").run(function ($rootScope) {
        $rootScope.$on('app.ready', init)
    })

})()- Add a new "package.manifest" file in the "TinyMCE.Premium.Overrides" folder.
- In the "package.manifest" file add the code below:
{
    "javascript": [
        "/App_Plugins/TinyMCE.Premium.Overrides/tinymce.custom.config.js"
    ]
}
Now when the TinyMCE Premium editor loads up, it will load the configuration in the "tinymce.custom.config.js" files as well.
You can see type an "@" in the RTE editor and see a list of users display for selection:
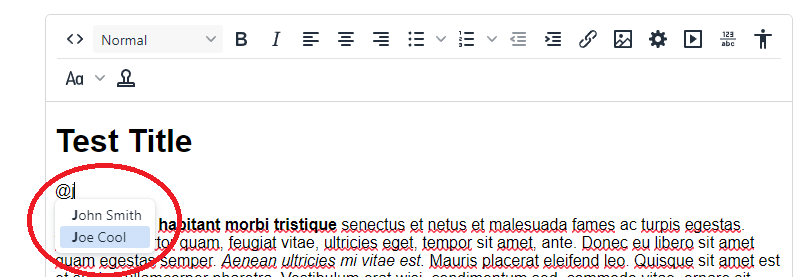
Note that the "Mentions" plugin isn't enabled by default and needs to be added in the Umbraco "RichTextEditor", "Plugins" configuration list to load properly.
High fives and much rejoicing (your experience may vary)
If you made it this far, #H5YR! You deserve a refill on that tea/coffee and go ahead and grab a cookie/biscuit as well!
Thanks for following along and please let me know what you think and if you have any issues getting any of this to work. I appreciate any feedback you would like to give!
For more information on all the plugins that TinyMCE has to offer, check out their great documentation: Plugins for TinyMCE.