
"Make Your Editors Happy" was the name of my first Codegarden talk in 2015. Since then a lot has changed. Umbraco 7 was improved, 8 was released and 9 is on the horizon.
On a personal level I got more involved in the community, resulting in multiple MVP awards and a Umbraco package award.
But if I look back at my first slide of that talk it is still true in 2021.
The editor experience is something I care deeply about, and should be tailored on a per project basis. There is no "One size fits all".
Luckily Umbraco offers us the toolset to do this. So let's look at some tips on how to improve the editor experience.
Icons and Descriptions
Setting the correct icon on a document helps editors distinguish between different types of content by looking at the tree. Use colors to distinguish between different types of content. For example use black for pages and red icons for pages that don't have a visual representation on the front end.
To help finding the correct icon (some say it's the hardest part of a building a Umbraco site) you can use this icon sheet.
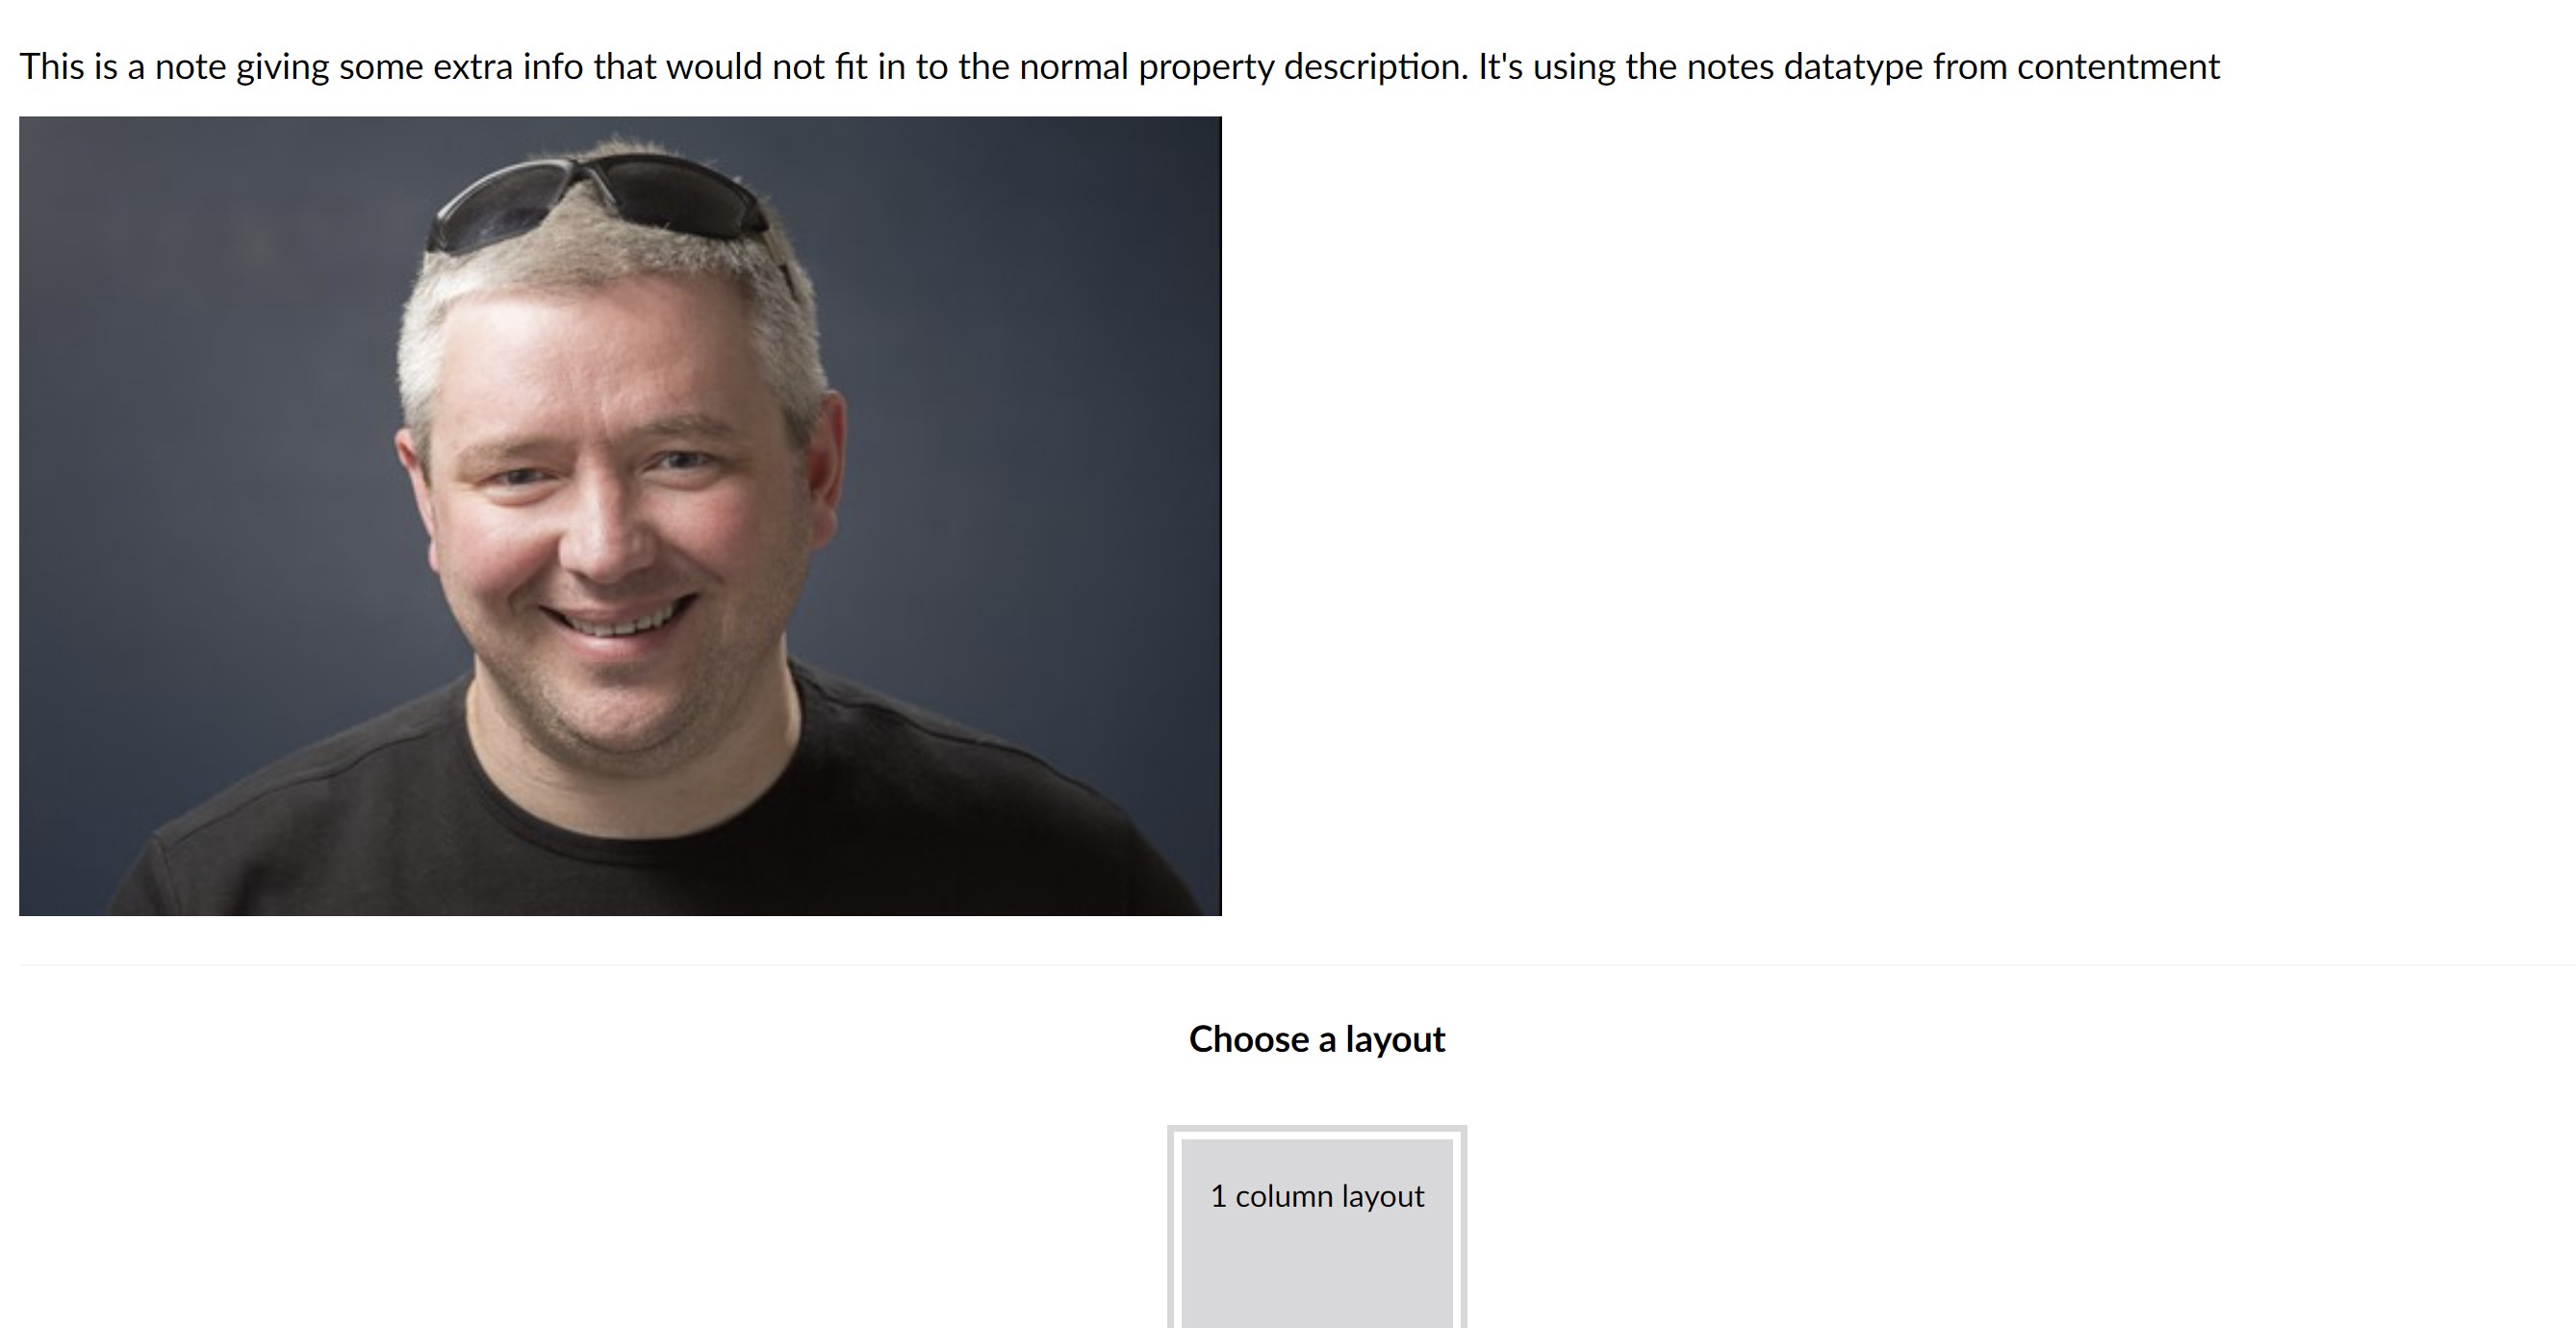
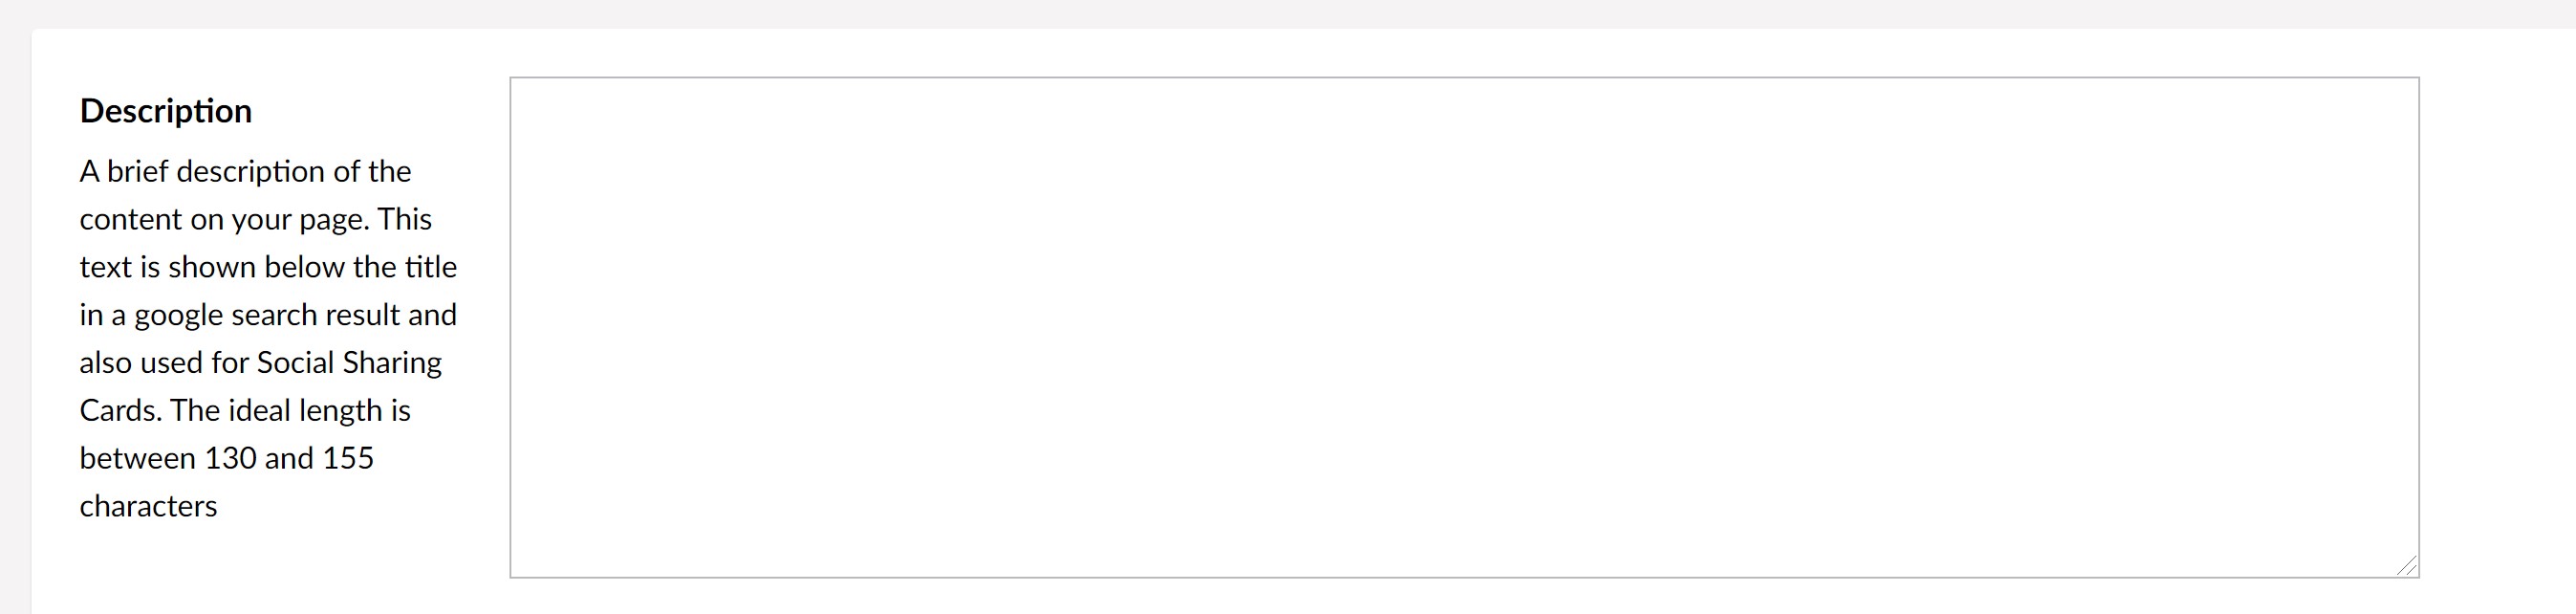
Use document type and property descriptions to give editors a indication on how a document can be used. Give also a clear explanation what happens when a property is not set. You can even use emoji's in the descriptions to draw attention.

Dennis Adolfi also mentions this in his article "Make love not poor editor experiences". He even shows a nice visual example showing the difference.
But the property editor description field has its limitations. For example it does not support rich text markup.
So if you give your editors more instructions you can use one of these packages :
- Editor Notes V8 (aka uEditorNotes) by Marc Goodson
- Contentment by Lee Kelleher
Both packages provide you with a Notes property editor which allows you to enter instructions for your editors in rich text format (why not embed a demo video).
Another option is to use the tour functionality in Umbraco. It is now even possible to create a tour for a specific document type.
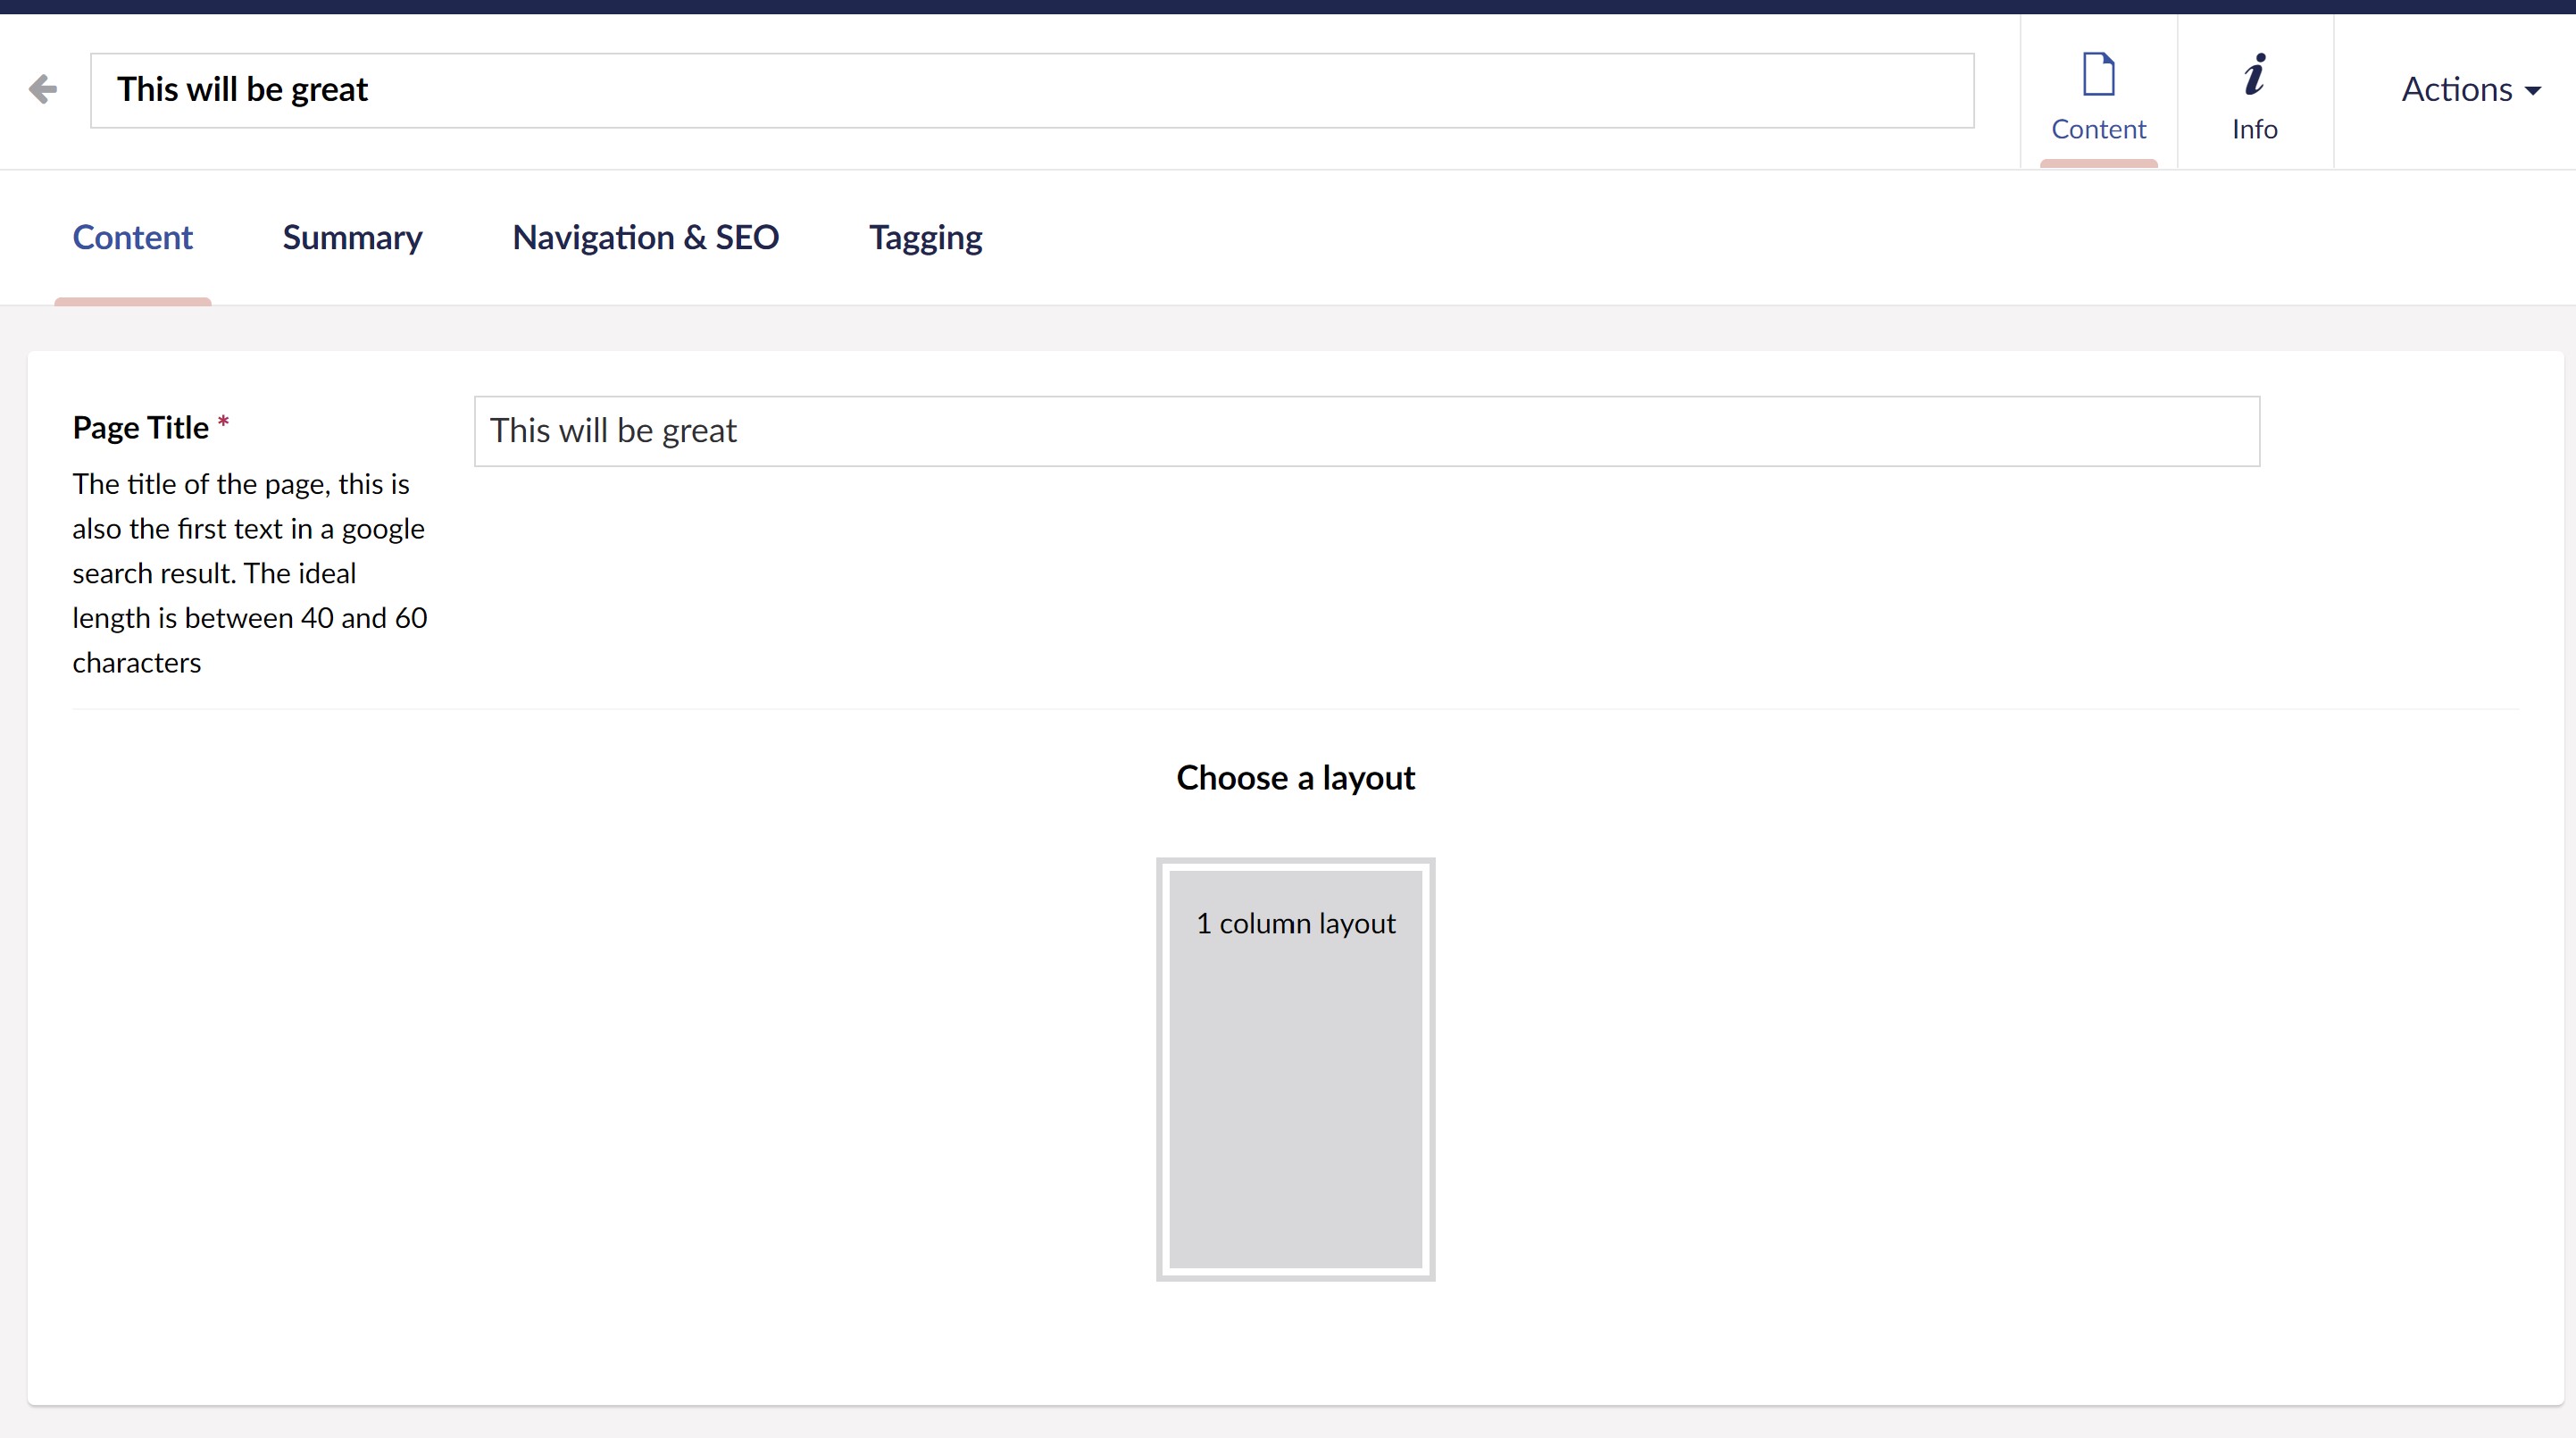
To Require or To Not Require
When adding properties to a document type you can make them mandatory so the editor can't publish the page before all required fields have been filled. From a developer's perspective this may seem like the logical thing to do. But from a editor's perspective this is not logical at all.
Let's look at a hypothetical situation:
You are building a website for the World Health Organization and they want to have a press release section on the website.
The press release document type has the following properties:
- Title (text, required)
- Header Image (media picker, required)
- Content (rich text or blocklist)
- Publication Date (datetime, required)
Suddenly the client needs to publish a urgent press release because a global pandemic is occurring. The editor already has the text available in a word document. Due to the urgency they just want to copy/paste and publish.
But because of the mandatory properties they need to set the title, select a header image (and likely they don't have an appropriate one ready) and a set the publish date before they can publish.
You could have made the editor's life a lot easier by making none of the properties mandatory.
- The title could fallback to the name of the item
- The publication date could fallback to the create date of the item
- For the header image you could use a nice gradient background in the colors of the website or make your front end code handle it well when the image is not set.
So only make properties mandatory if no other option is possible.
Organize Your Properties
In the talk from 2015 I gave the following advice about properties :
- Group them in tabs by functionality.
- Put them in the order they appear on the front end.
The first item is still true. Group them by functionality; e.g. all your SEO related properties on one tab.
But over the years I moved away from the second one. Put them in an order so the properties that will be edited most are on the first tab.
Especially since the release of V8, where we don't have tabs out of the box, this makes a big difference for editors. You can avoid a lot of scrolling for your editors if they see the frequently edited properties first.
But tabs are coming back in Umbraco. According to the roadmap they are scheduled for Q3 2021.
But for now you can use the excellent Matryoshka package by Søren Kottal. Once installed all your groups will be converted to tabs. If you have a lot property groups I would recommend installing this package until tabs are back in the CMS.
Here you can see an example from the blogpost document type in the starter kit that uses Matryoshka and with properties grouped and ordered in a more editor friendly way.
It is best to sit down with your editors on a regular basis and watch them adding content to come up with the ideal structure.
Use the Correct Property Editor
Out of the box Umbraco offers you a lot of property editors. But picking the correct one is not always an easy job. And sometimes you need to install a external package to make the lives of editors easier.
What I have noticed from developing Umbraco websites for more than 10 years is that editors love context when editing content.
Example 1 - Editing meta data
Let's have a look on how editing the meta description is setup in the default starter kit.
From a functional point this does the job. A editor can enter the meta description for the page. But a editor has no idea how the Google result will look and actually has to count the number of characters manually.
With not even 5 minutes work it could look like this :
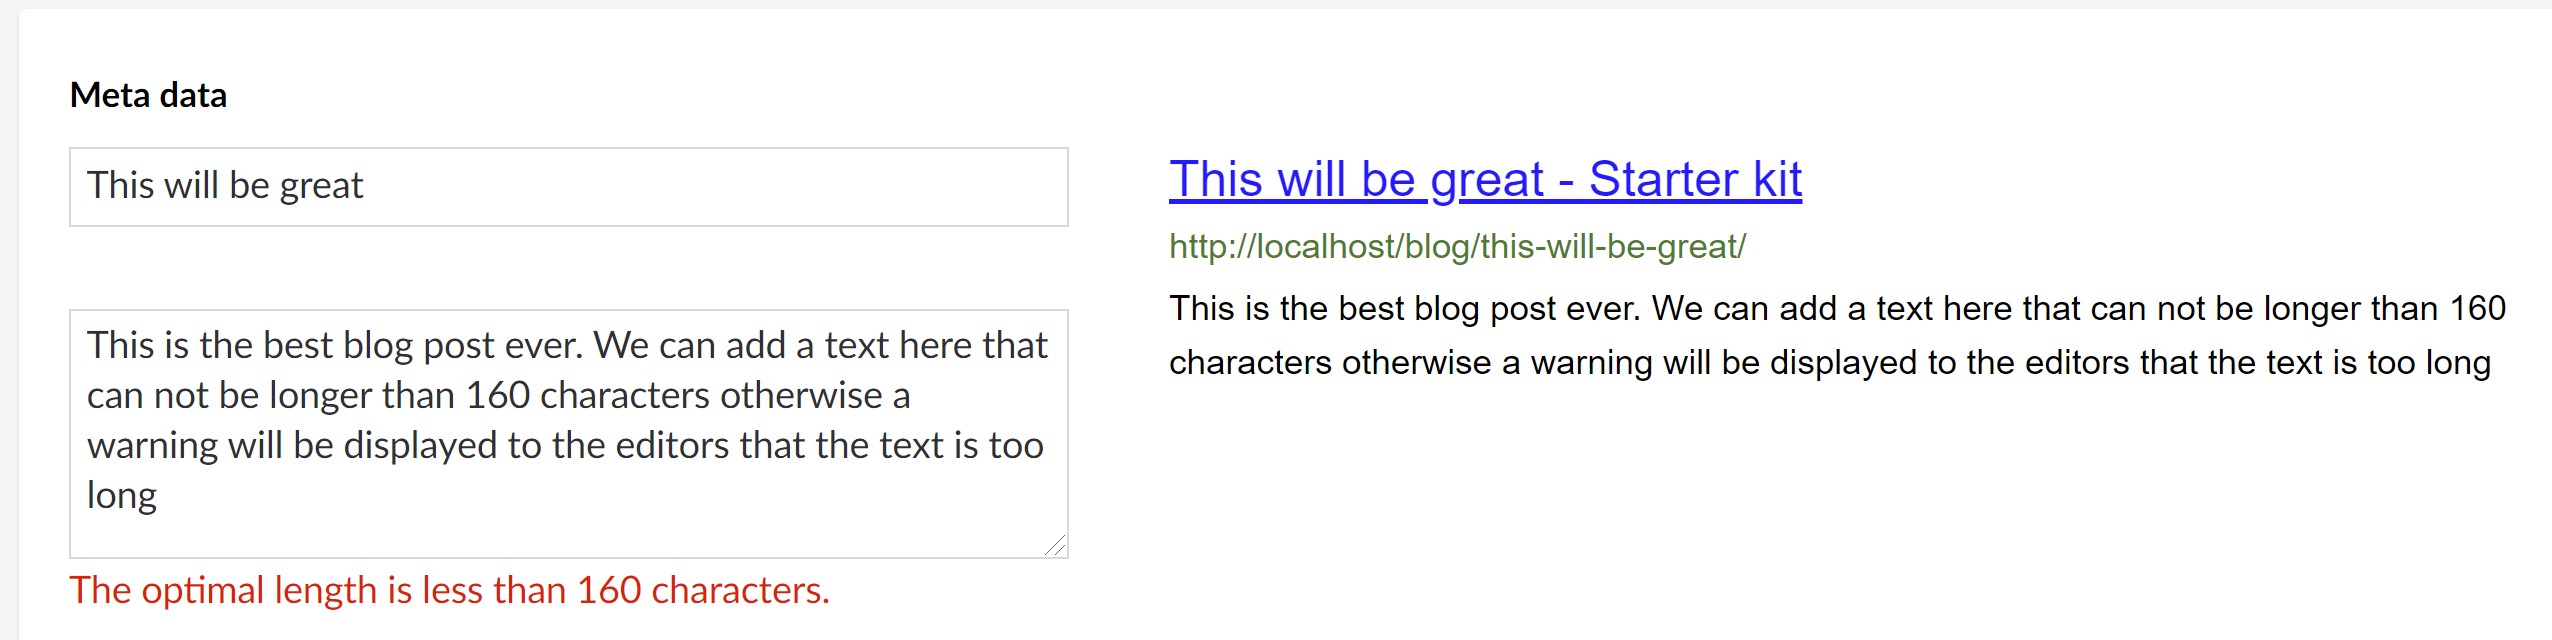
Now the editor has a preview on how it looks in Google search results, but also gets a warning when the number of characters exceeds the optimal length.
I used the Seo Visualizer package by Markus Johansson. But there are other packages out there that provide similar functionality. Find the one that suits you the best.
Example 2 - Relating content
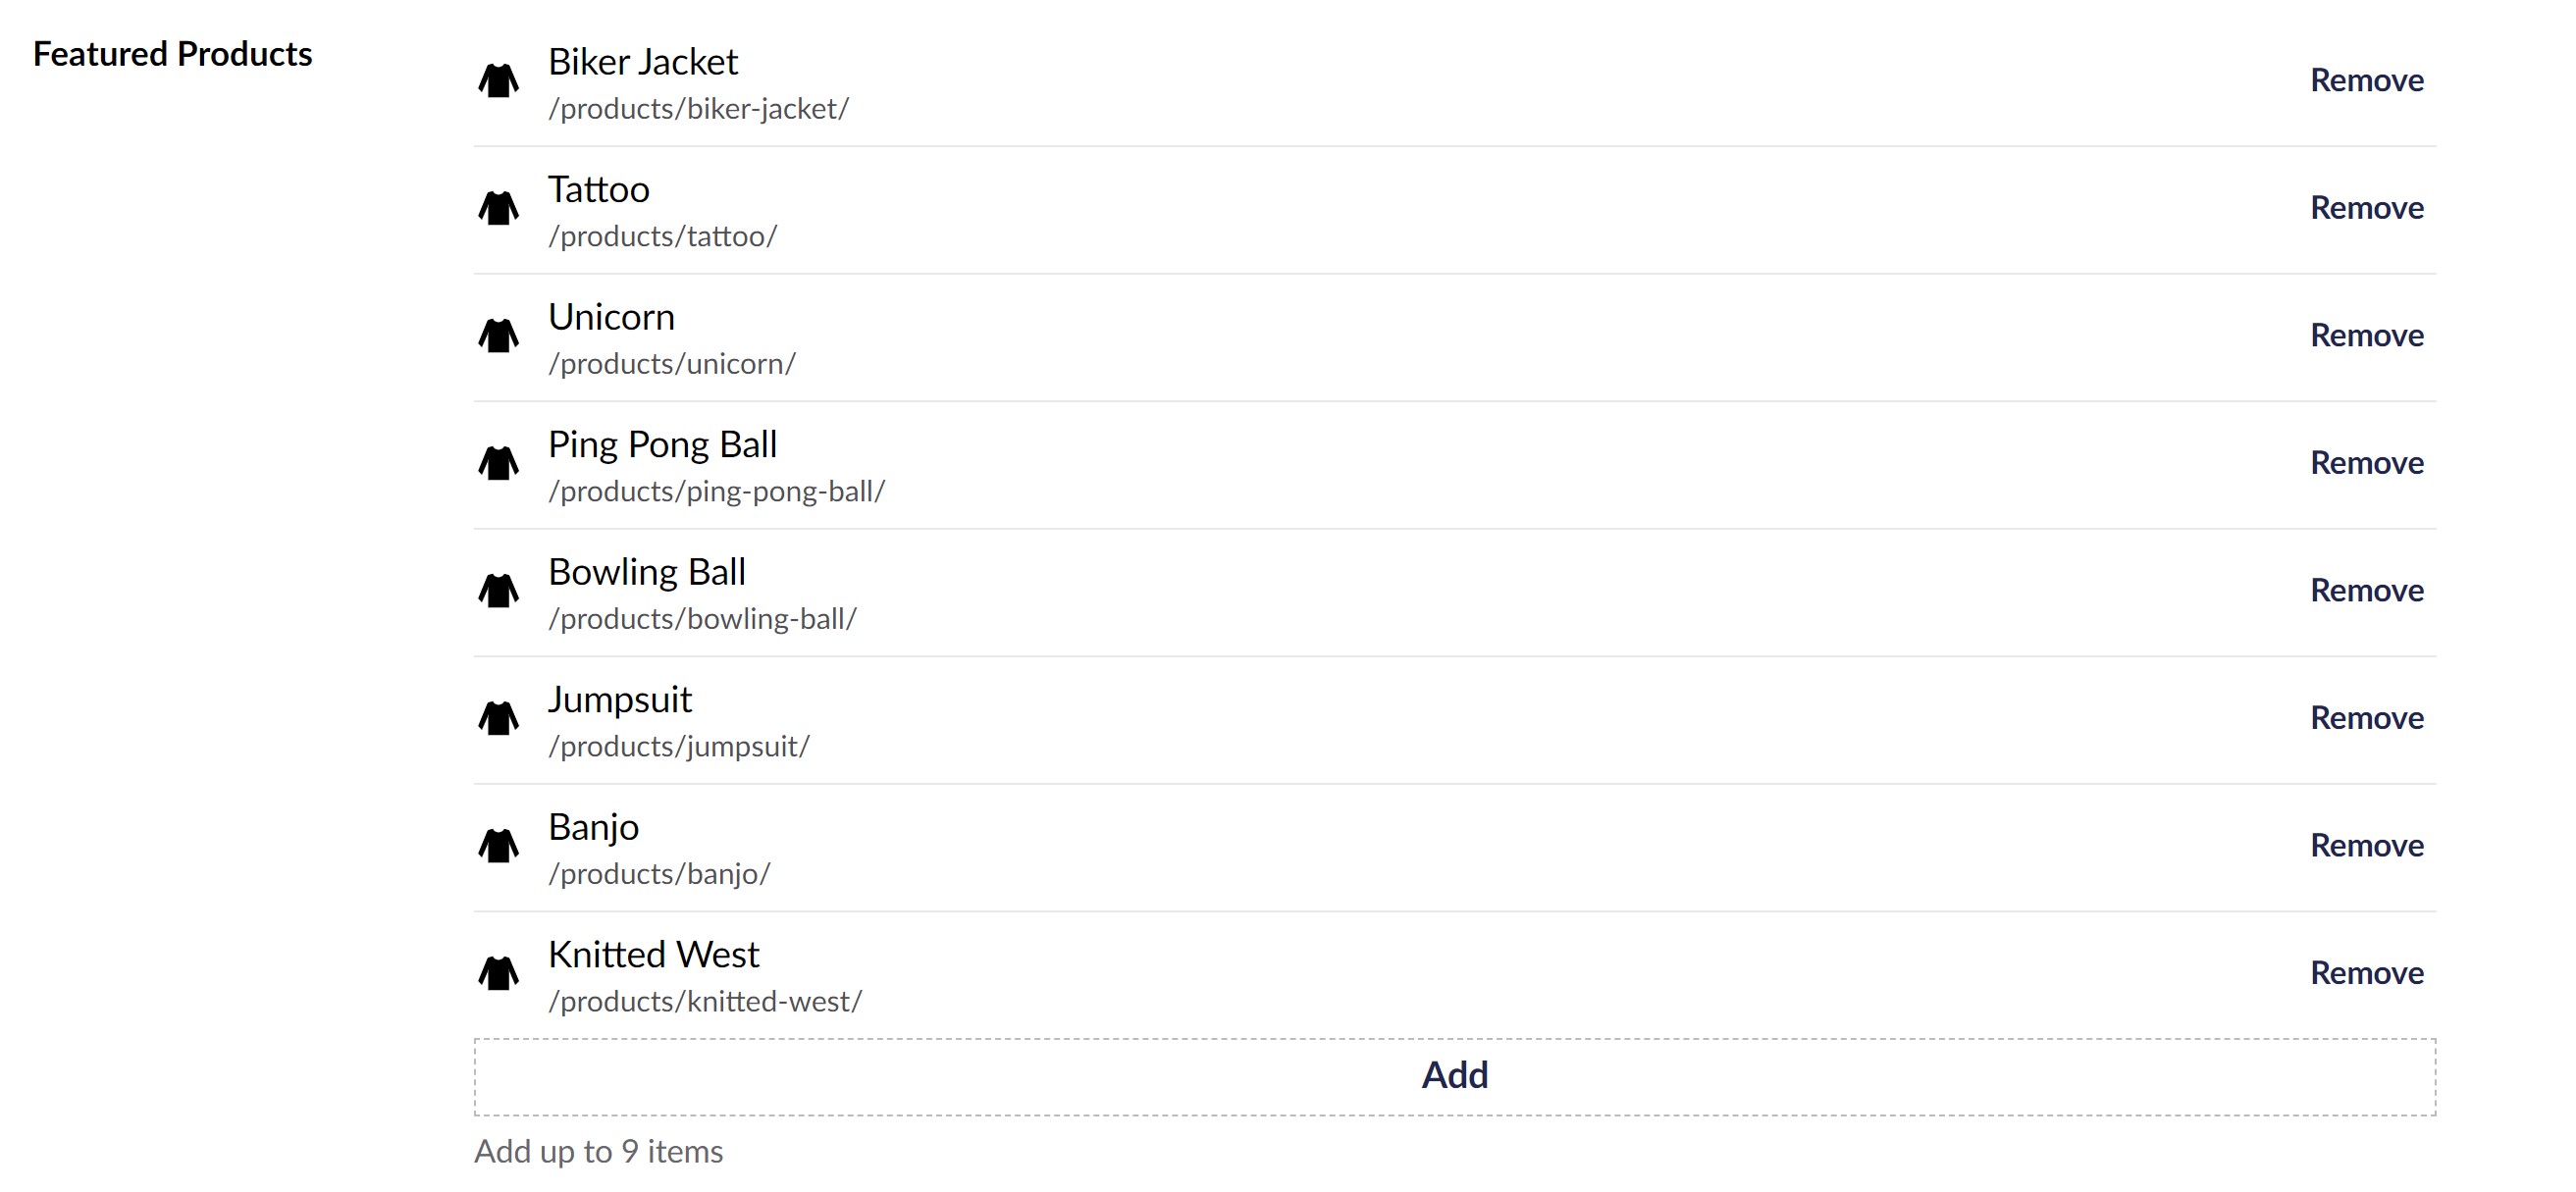
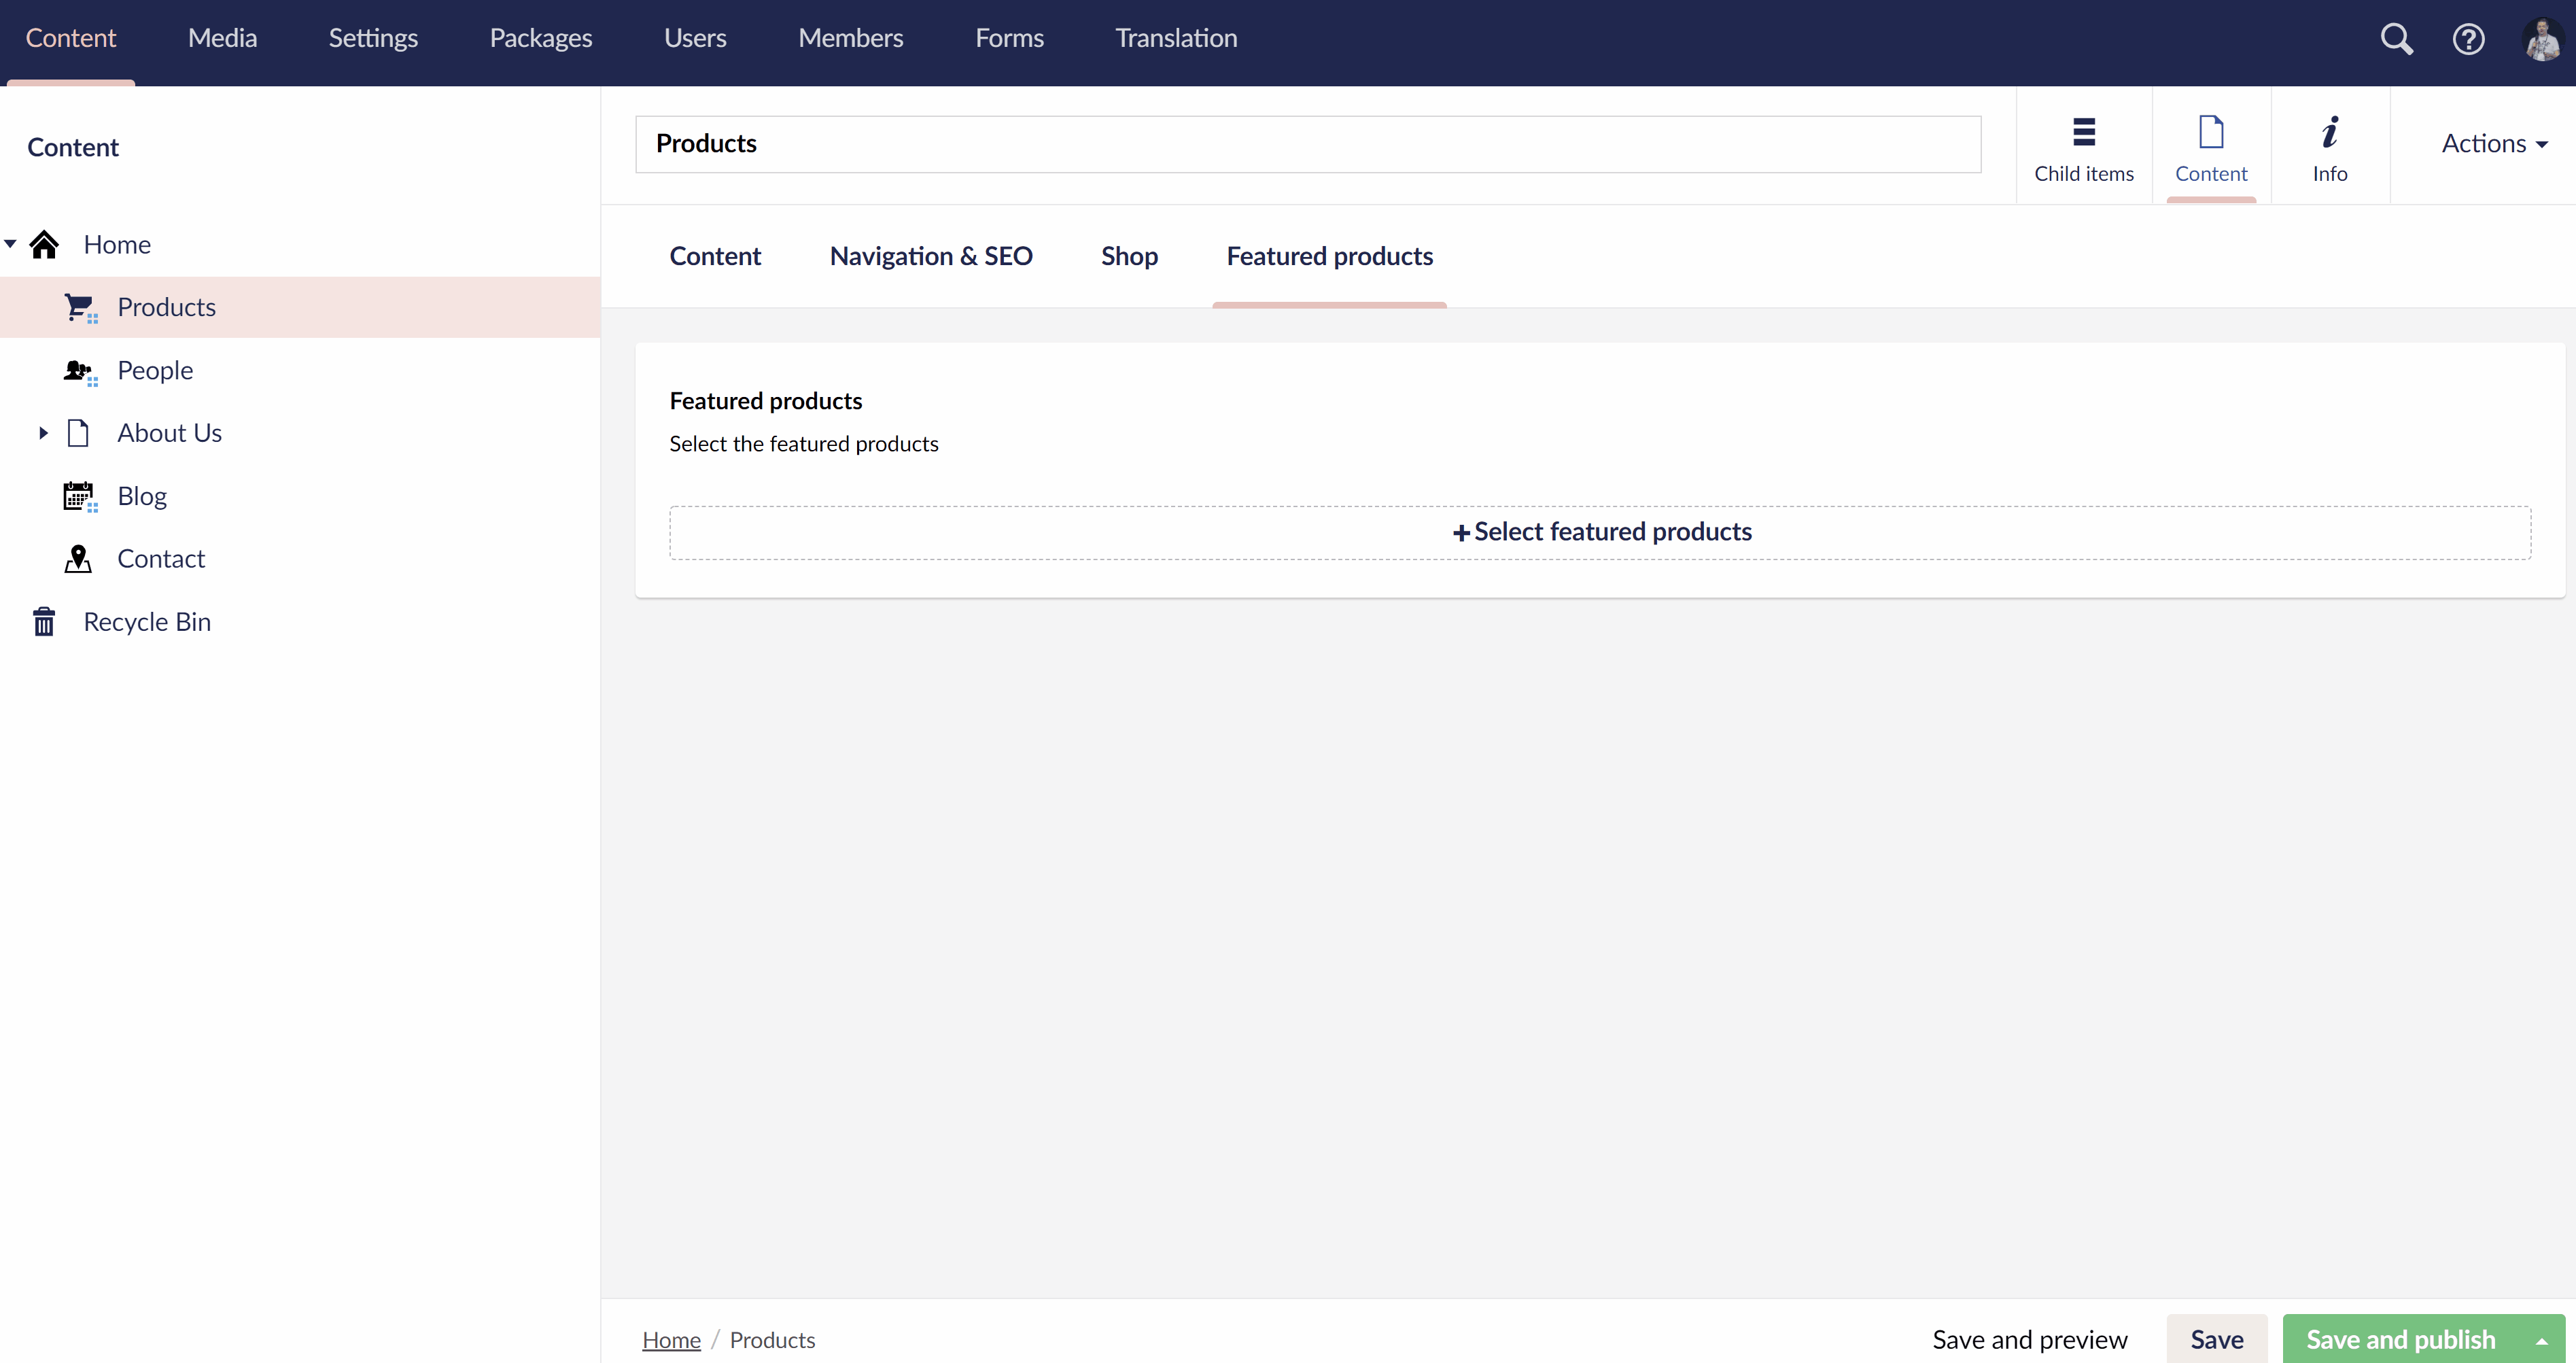
The most common property editor used for picking content is the Multi Node Tree Picker (MNTP) that comes out of the box with Umbraco. In the starter kit you can see this being used for picking the Featured Products on the Products page.
Again, from a functional point this does the job. But for the editors this not gives them a lot of context what is being picked and when.
I wrote an article on how to solve this for the first edition of Skrift. The proposed solution there uses a package called NuPickers to provide more context to editors.
But NuPickers is not compatible with Umbraco 8. Luckily Contentment comes to the rescue. Out of the box it comes with several datalist sources and datalist editors. If none of them fits your needs you can always extend the package by creating your own datalist source or editor.
So picking featured products could look like this:
Here I created a custom data source and editor for contentment that allows editors to pick featured products in a more visually attractive way.
In one glance editors can see the product name, image, categories, SKU and description. As a bonus they can actually filter the list on all of these, which makes it easy for them to find the correct product when they have a lot of them.
With a little bit of custom coding we've provided the editors with a tailored experience.
Example 3 - Build your own
When the out-of-the-box property editors and the ones provided by the community can't solve your problems it's a good thing to roll out your own property editor. Don't try to bend existing property editors to do something they were not meant to do.
On a inherited project of ours a customer had a lot of products that came in different flavours. On one page a feature comparison table should be shown to highlight the differences, somewhat like the pricing page of Umbraco Cloud.
The original developers built this using Nested Content. The products were added using Nested Content. All features were added by using a inner Nested Content on the product. Editors had to make sure all the features were in the same order. Pretty cumbersome.
And because it was build using nested content they did not have a visual representation of how the table was structured.
When we took over one of the first tasks was to add some extra options to this. And they asked if we could me make the editing easier. We proposed to them to build a custom editor for that. You can see a stripped down version of the end result in the video below.
The editors loved this because they could actually see the table in the backend as well. As a bonus creating a comparison table with the new editor was 60% faster as the previous solution built using Nested Content.
Kenn Jacobsen shows some nice examples of custom editors in his Skrift article Creating custom editor experiences.
Of course building something custom will require more budget from the client. But sit down with them and explain how it will benefit them in the long run.
Conclusion
Umbraco is very user friendly CMS out of the box. But with little or no effort it can be made even more user friendly and tailored to the website you are building. Remember here is no "One size fits all".
To summarize :
- Choose a meaningful icon for doctypes.
- Add descriptions to properties and doctypes.
- Only make properties mandatory when there's no other option.
- Organize your properties in a logical way for editors.
- Choose the correct property editor.
- Invest in AngularJS knowledge. Despite it may be outdated it will help you create tailored editor experiences.